FREE STANDARD SHIPPING FOR ORDERS OVER 99€!
FREE STANDARD SHIPPING FOR ORDERS OVER 99€!
Glues & Liquids
Eyelash Extensions
ACCESSORIES
So Henna

Creating Hair Strokes Using So Henna
август 17, 2023 3 min read
Hair Strokes With So Henna: A New Henna Brows Technique
You may or may not have heard of the new henna brows technique that everyone is loving… hair strokes. Brow Artists are now mimicking natural hairs by creating strokes with their brow henna powder. It’s the perfect choice for clients who want a more natural, fluffy look and it’s definitely a skill you should have in your toolkit! So… how do we create henna brow hairs?

How to Create Brow Henna Hair Strokes
Always observe the natural growth pattern of the client's brows. Start at the base of the brow hair and flick your brush upwards in the direction of hair growth. This ensures that the strokes blend seamlessly with the natural hairs. Bear in mind that natural brows aren't uniform. Some hairs are longer, some shorter, and they don't all grow in the same direction. To mimic this, vary the length of your strokes and slightly alter the angle for a more realistic look.
For areas that are more sparse, you might need to go over them more than once. Allow the first layer to set for a minute before applying another. This layering technique will add depth and dimension to the brows.
Use a light hand for the start of the brow (near the nose) to create softer strokes, and gradually apply more pressure as you move towards the tail for a bolder finish. This gradient effect looks more natural and mimics the density of real brows - most client’s won’t want a block look!

It’s also important to be aware of the spacing between each hair stroke. Avoid placing the strokes too close together as natural brows have space between the hairs, especially towards the front. By ensuring you leave tiny gaps between each stroke, you'll achieve a more lifelike appearance.
When you get to the arch of the brow, you will want to create slightly curved strokes that follow the natural peak of the brow. This will help to define the arch and give the brow a lifted and youthful appearance that we all love.
Once you've filled in the entire brow, take a step back and assess your work. Use a clean brush or cotton swab to gently smudge any strokes that look too harsh or out of place. This will soften the overall look and blend the henna strokes with the natural hairs for a hyper-realistic finish.

Our Tips and Tricks to Achieving Perfect Henna Brow Strokes
1. Choose the Right Tools:
To achieve fine, hair-like strokes, you'll need a precision brush. Opt for a thin, angled brush that allows you to create sharp, defined lines. The brush should be flexible enough to move with the natural curve of the brow but firm enough to deliver the henna mix accurately.
2. Consistency is Key:
The consistency of your henna mix plays a pivotal role in the application. If it's too thick, you won't be able to create fine lines, and if it's too runny, the henna won't stay in place. Aim for a consistency similar to that of liquid eyeliner or cream gel. This will ensure that the henna glides smoothly and stays where you place it. If you’re struggling to get your henna mix right, check out this complete guide on perfectly mixing your brow henna.
3. Practice on Paper:
Before applying on the skin, practice creating hair strokes on a piece of paper. This will give you a feel for the brush and the henna mix, allowing you to adjust your technique as needed.
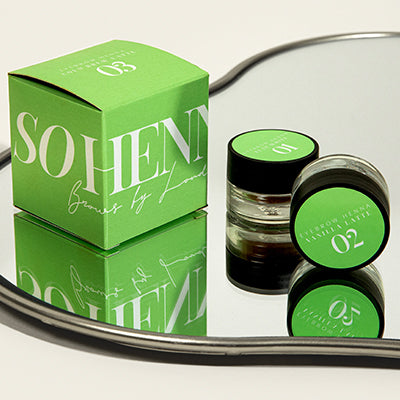
Creating hair strokes with So Henna is an intricate process that demands attention to detail. By understanding the natural growth and pattern of eyebrows and mastering the technique of stroke application, you can achieve results that are indistinguishable from natural brows. With practice and the right tools, you'll be able to offer your clients brows that are an elevation of their natural look. Check out our So Henna range to discover the best henna brows products on the market, and remember to tag us in your brow content!
Check out these featured products
Subscribe
Sign up to get the latest on sales, new releases and more …


