
BLACK FRIDAY DEALS
GLUES
LIQUIDS
BROWS
OTHER PRODUCTS
OUTLET
The 5-Step Pretreatment Routine for Eyelash Extensions
by Evo Raev May 07, 2024 2 min read


Table of Contents
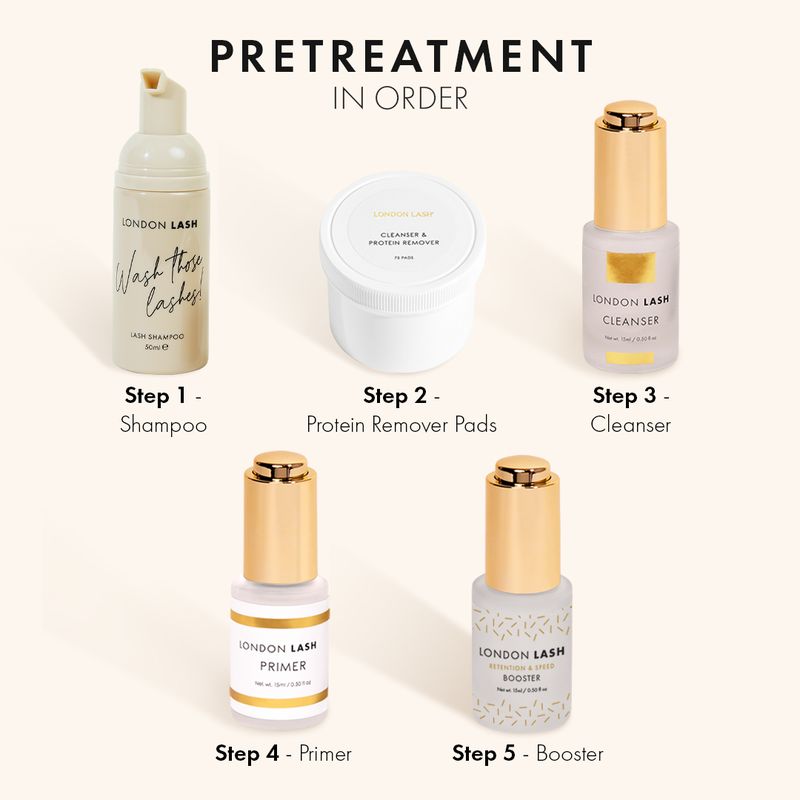
The Full Rundown of the 5-Step Pretreatment Bundle
You may have read our guide to Bare Minimum vs Ultimate Lash Extensions Pretreatment or seen our seasonal pretreatment tips. But what’s in the full 5-Step Pretreatment Kit, and what does each product do? Here’s how the five steps fit together and what to check before you finish the set.
Step 1 – Foam Cleanser
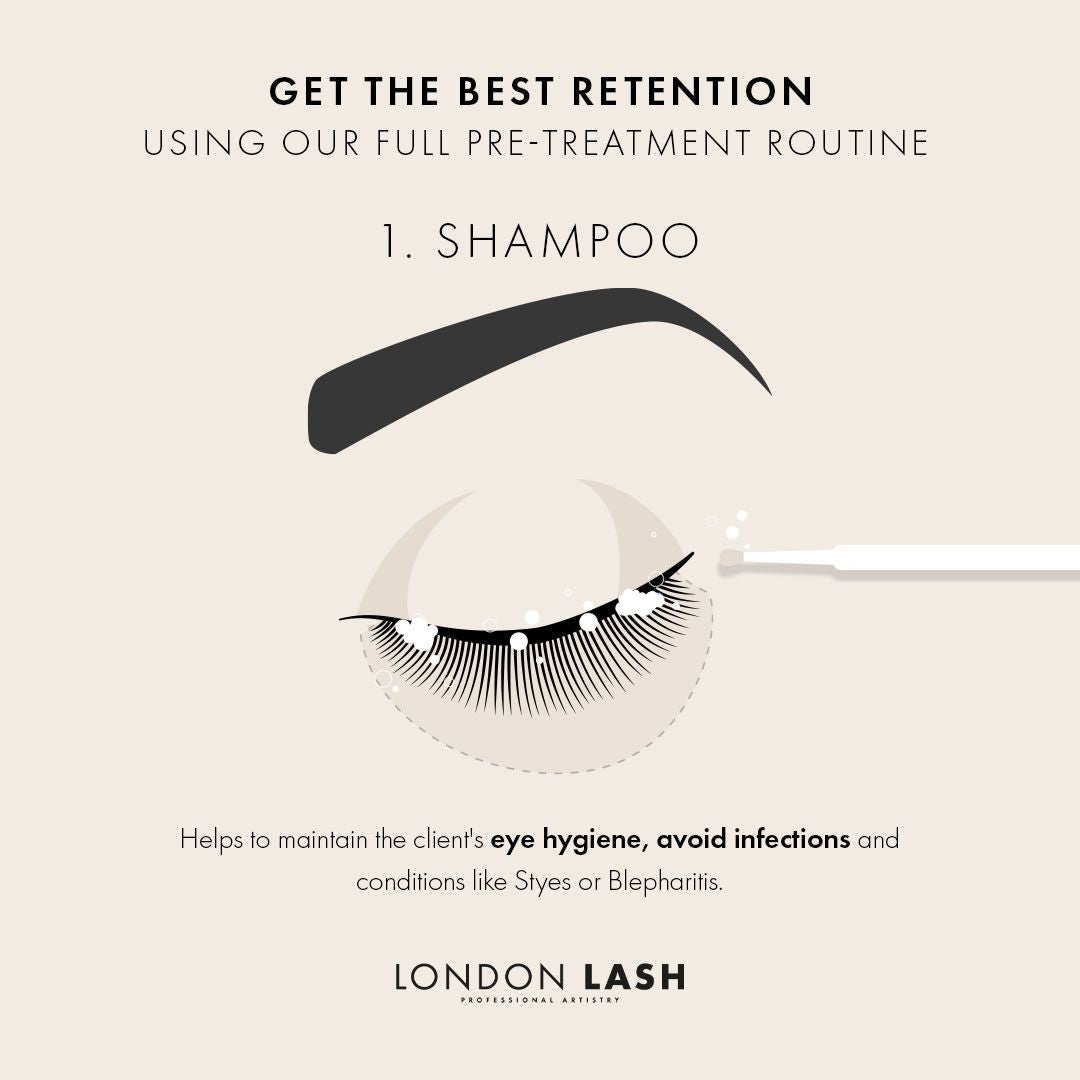
Start with a foaming lash shampoo and a soft cleansing brush to remove makeup, oils, sunscreen and other buildup from the lash line. If you’re shopping for a standalone cleanser, Sensitive Lash Shampoo is an option. Follow the cleanser’s directions for application and rinsing, then dry the lashes before moving on.
Step 2 – Protein Removing Pads
Protein Removing Pads help lift traces of makeup and oils that remain around the natural lashes. For more precise application, use a clean microfibre brush or cleansing applicator to pick up a small amount of liquid from the pad. If you’re working on an infill, take care around the existing bonds so fibres from the pad don’t catch on them.

Step 3 – Cleanser
Pre-Treatment Lash Cleanser helps remove remaining oils and product residue from the natural lashes. This can be particularly useful if the client has worn a heavy moisturiser or sunscreen. Use a small amount on clean microfibre brushes and follow the product directions for application.

Step 4 – Primer
Follow the cleanser with Lash Primer to prepare the natural lashes for adhesive application. Use the primer as directed and let the lashes dry before applying extensions with your chosen lash glue.

Step 5 – Booster
Retention & Speed Booster can help speed up attachment and keep handmade volume fans open during placement. Apply a small amount to the base of the extensions while they’re still on the strip, following the product directions. Keep it off the client’s natural lashes. Choose the weight and length of the extensions based on what each natural lash can support.

Post-Treatment Checks
Before the client opens their eyes, check through the set for stickies using your isolation tweezers. Take the time to check each section so neighbouring lashes can move freely without tugging on one another.
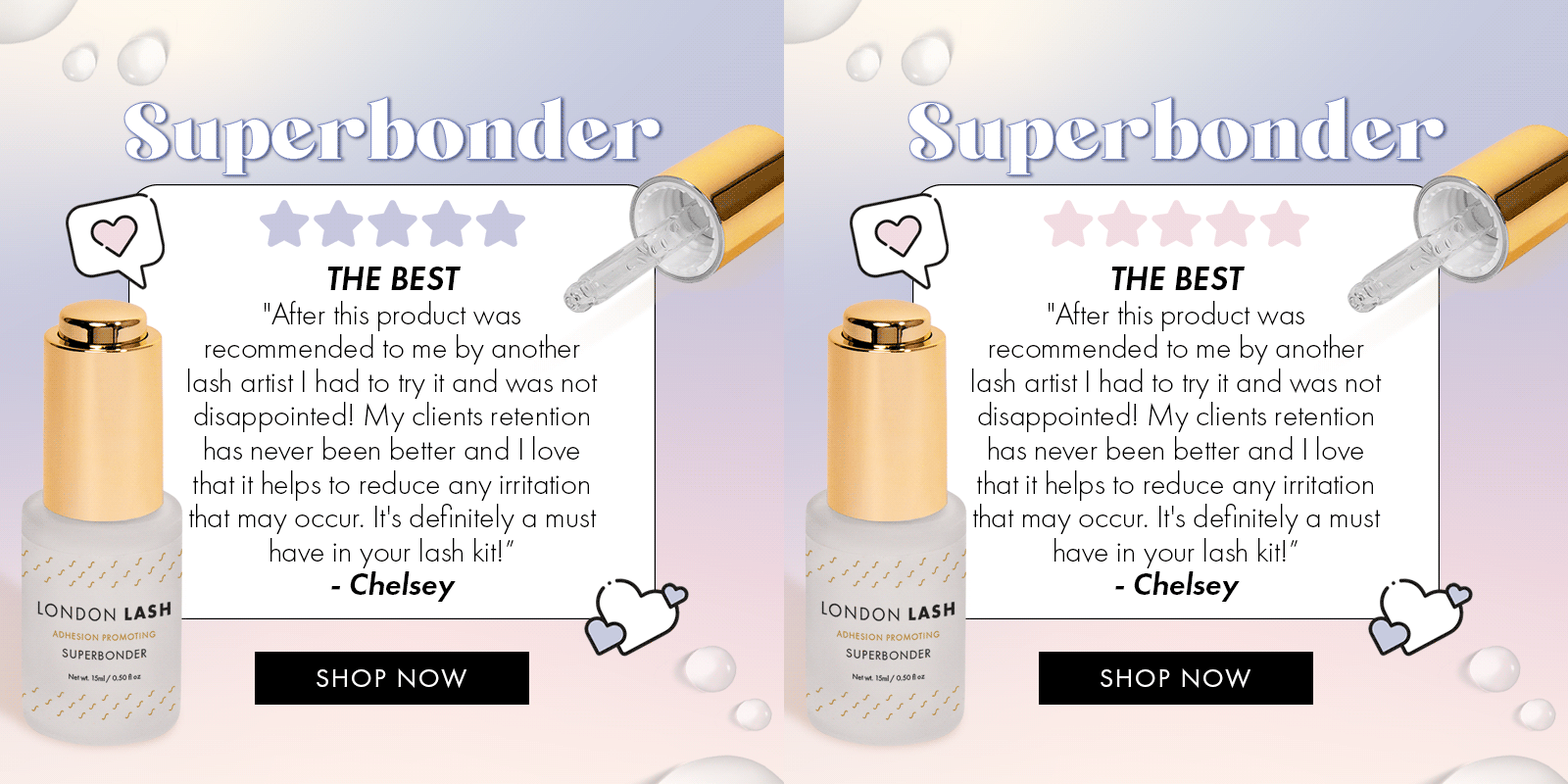
If you finish the set with Superbonder Sealant, follow its instructions for timing and application. Tell the client when they can get their extensions wet based on the adhesive and finishing products you used.
That’s the full rundown of the five-step routine. If you’re stocking up, check the kit page for its current contents and pricing before buying the products individually.
Check out these featured products

Sale
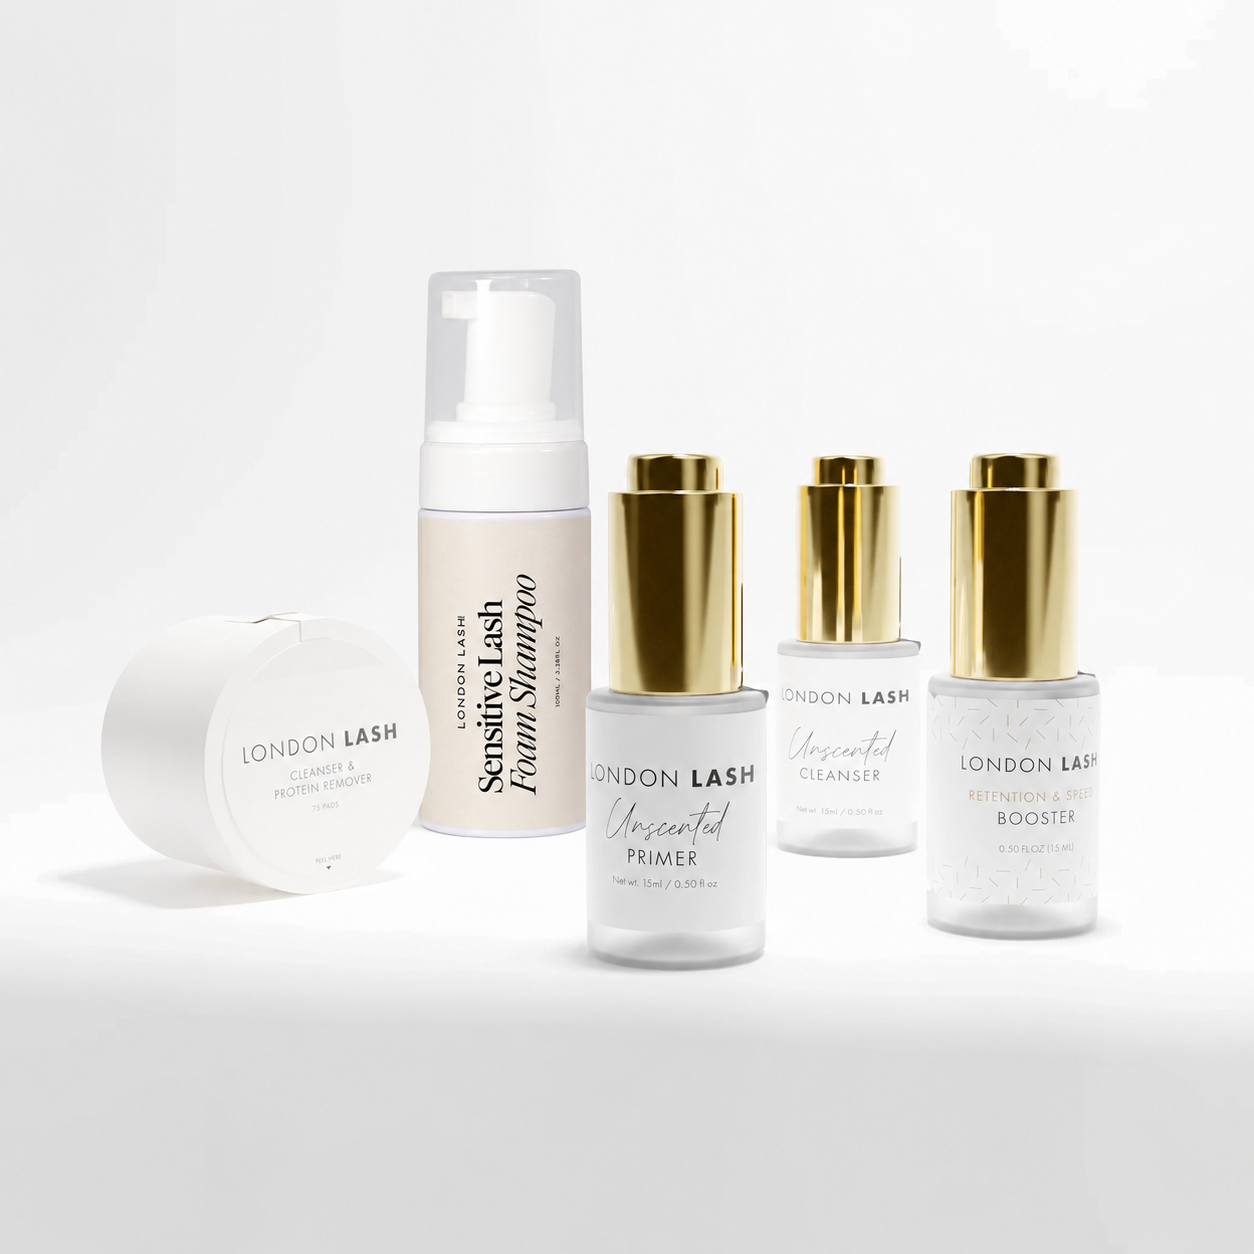
5-step Pretreatment Kit - SAVE 25%
4 reviews
857,00 kr
686,00 kr


Sale
Superbonder Sealant
69 reviews
389,00 kr
272,00 kr
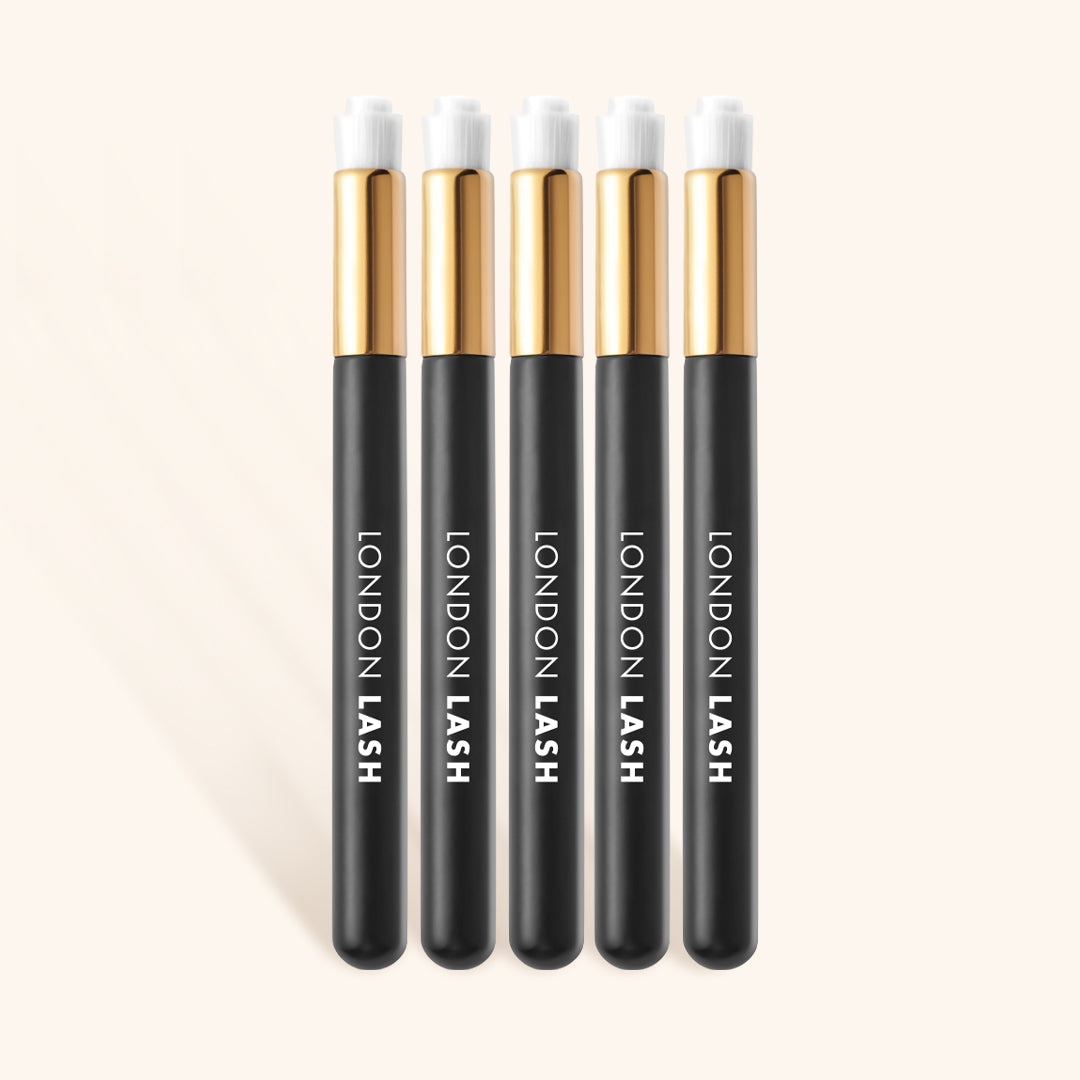

Sale
Lash Cleansing Brush
2 reviews
35,00 kr
from
25,00 kr

