


All About The Little White Dots in So Henna Powder

Curious About the White Dots in Your So Henna Brow Powder? Here's What You Need to Know
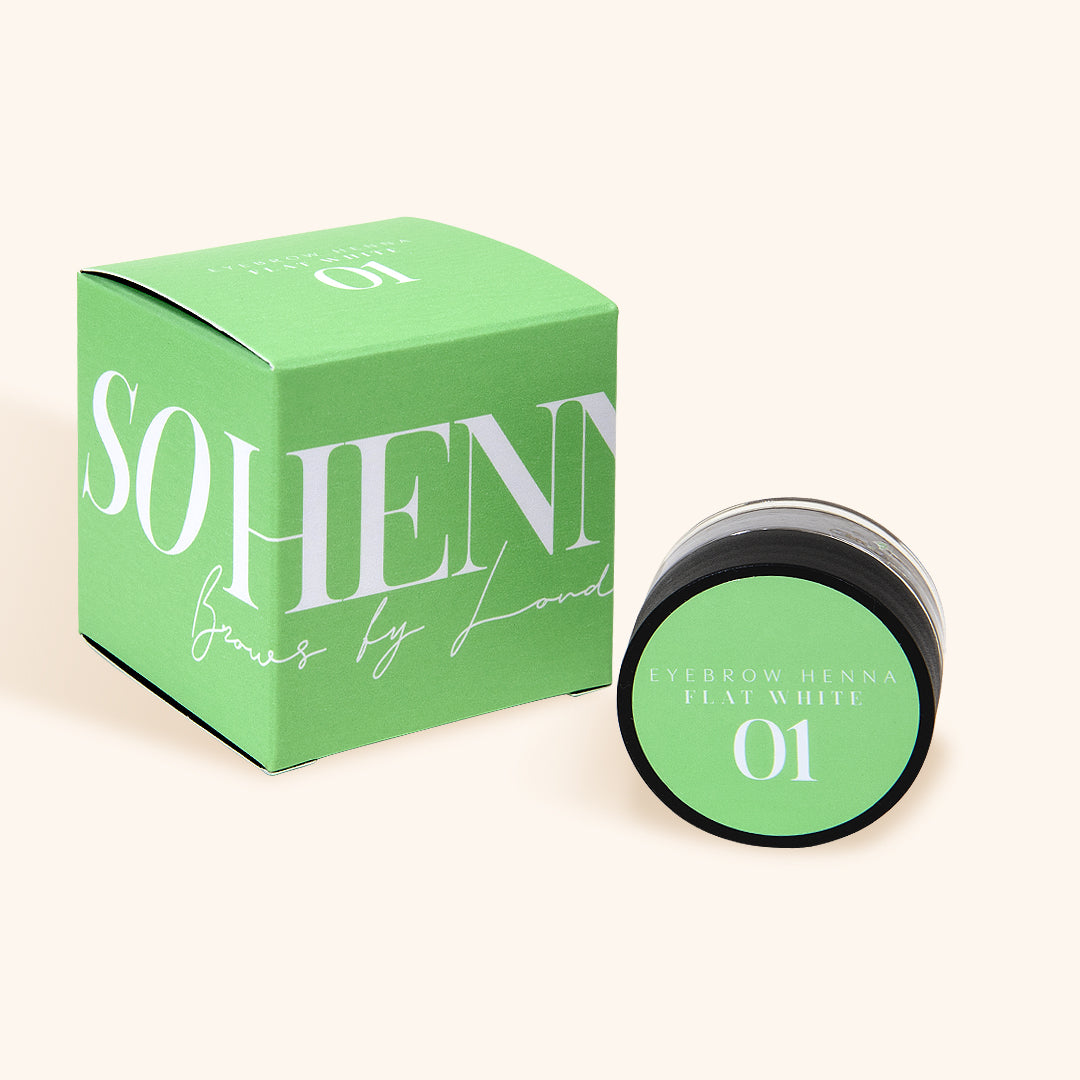
If you've ever opened a fresh jar of So Henna brow powder and spotted tiny white specks in the powder, you're definitely not alone. We often hear things like: "Are these white dots supposed to be there?" and "Has my powder gone out of date?" It’s understandable and we're here to answer your questions. Those little dots aren’t what most people expect when they think of smooth, finely-milled brow powder. But don’t worry! They’re completely normal, and we’re here to explain exactly what they are, why they show up, and how to mix your product like a pro to get the best results.
So... What Are Those Dots?
Those pale specks are part of what makes So Henna powder so effective. They're highly concentrated components that help activate the henna's colour when mixed. Think of them like mini pockets of pigment power—essential for the bold, lasting stain we all love from eyebrow henna. Just like how brow tint changes when it reacts with a developer, these particles in the henna mix are naturally occurring and designed to dissolve and activate when properly mixed. So if you spot them, it simply means your henna is packed with all the good stuff.

How to Break Them Down
While they’re supposed to be there, they do need to be fully mixed before you apply the product. Some colours in the So Henna range might take a little more effort to blend smoothly due to variations in pigment strength, but with a good technique, it’s super manageable.
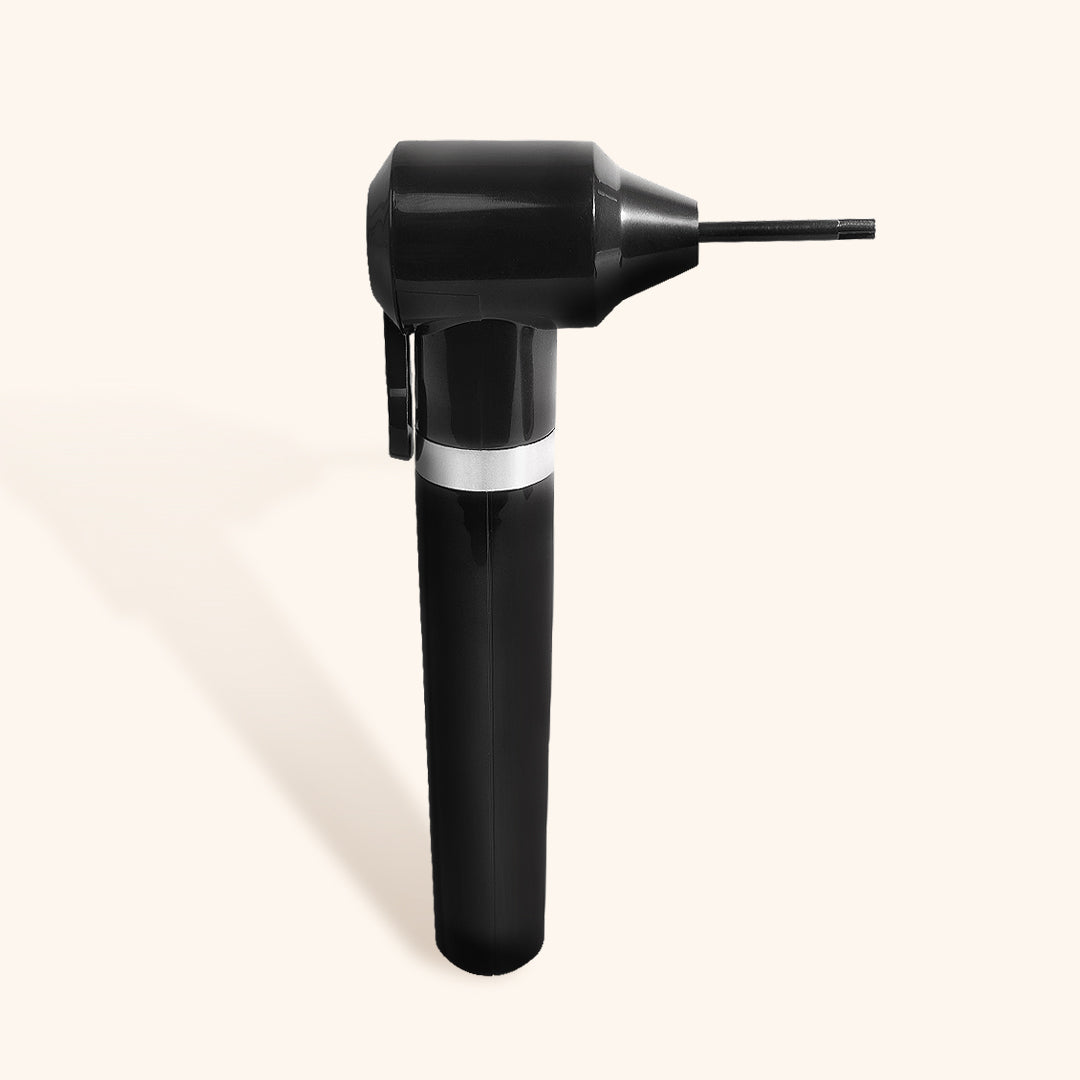
The Mixing Tool Matters
Ditch the wooden stick or the tip of an eyebrow brush, gone is the time of hand-stirring—your wrists will thank you. The So Henna Mixer Tool is a small, battery-operated mixer makes all the difference. Not only does it create a smoother blend, but it also ensures those white dots fully dissolve into a creamy, even consistency that’s ready to apply.

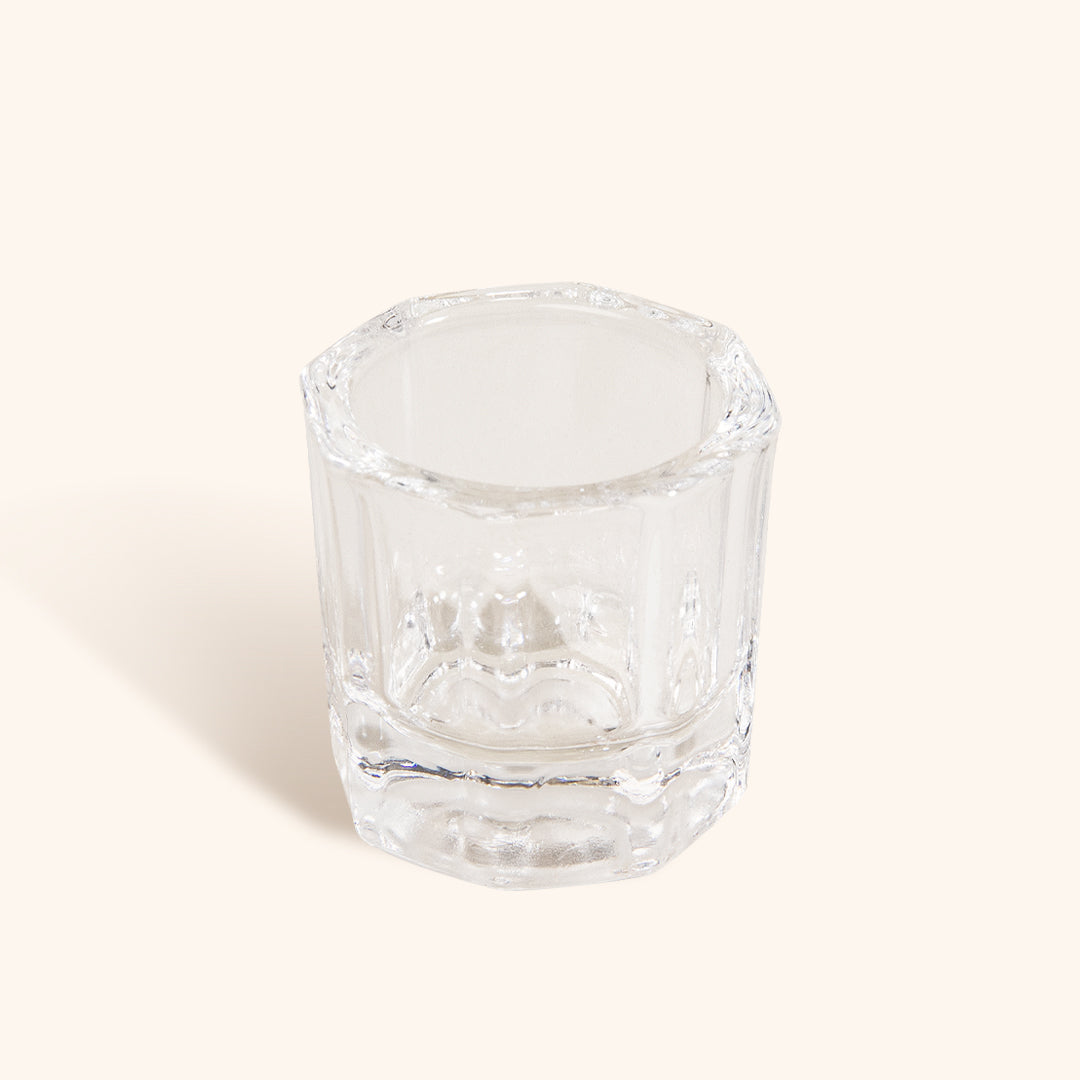
Use Lukewarm Distilled Water
Warmth helps break down the powder more efficiently. Always stick to distilled water to avoid impurities, and skip any metal mixing bowls (they can cause oxidation and affect the colour result). A glass dish is the way to go.
Here’s how to get it just right:
-
Warm up distilled water in a clean, limescale-free kettle.
-
Let it cool slightly until it’s just warm to the touch—lukewarm is key.
-
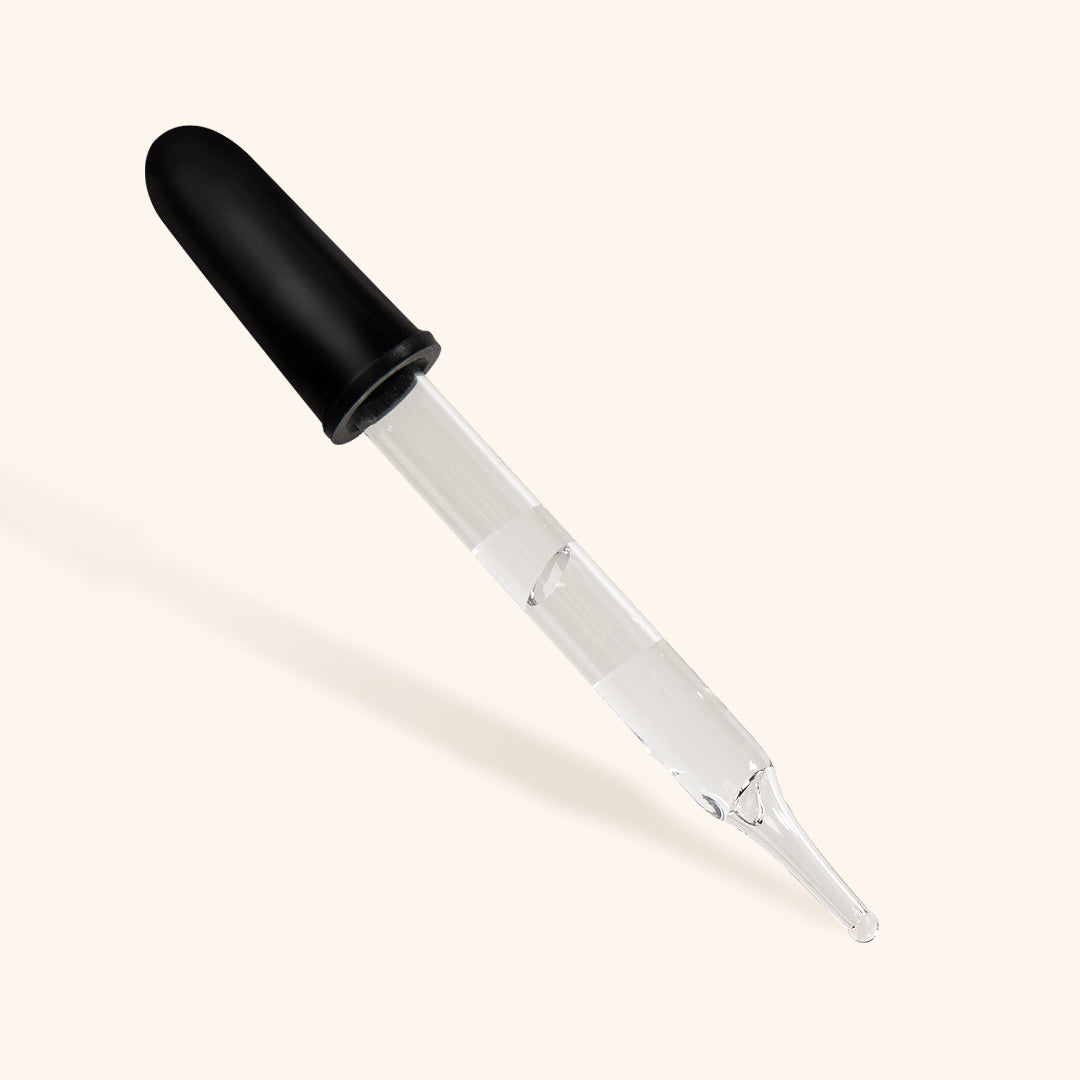
Add a few drops to your powder using a dropper.
-
Blend thoroughly with your mixing tool until the texture is silky and smooth.
Start with less water than you think you need—you can always add more. Your goal? That perfect honey-like consistency. You can read all about how to mix your So Henna brow powder perfectly, in this dedicated blog post.

Applying Like a Brow Pro
Once those white dots are fully mixed in and your product is smooth, the rest is all about technique. Map the clients brows according to their desired shape and use So Henna Brushes to apply the henna evenly across the brow, making sure every area gets the same amount of product. Follow the recommended timing to let the colour develop evenly for a long-lasting result.

Those little white dots? They’re not a flaw—they’re part of what makes So Henna work so beautifully. With the right prep and tools, you’ll have a smooth, richly pigmented mix every time. And of course, if you’re still unsure or having trouble mixing, our team is always here to help—just drop us a message over at @SoHenna_Official.