Glues & Liquids
Eyelash Extensions
ACCESSORIES
So Henna
EYEBROWS
ONLINE TRAINING
Save up to 70% Off
Glue Zone: The Perfect Placement of Lash Extensions
March 16, 2024 4 min read

Perfecting the Placement of Lash Extensions
The skills of a Lash Artist are meticulous and detailed and those who have never seen the intricate work of placing individual extensions on a single natural eyelash are always in awe of the artistry it takes to be so precise. The perfect placement of lash extensions comes with practice and patience, while some may take to it naturally, for others it can take some more time. Nevertheless, do not compare yourself to others – your journey to perfection is your own, and we’re here to help and give you some tips on how to practise and improve your lash extension placement.
Knowledge is Key
Firstly, it’s important to know that placing eyelash extensions is not as easy as picking up a lash or lash fan and placing it anywhere on the natural eyelashes of your client. The placement of an extension must be planned and detailed. This is why you should always draw out your desired lash extensions map onto the Eyepatches and work accordingly. Check out our blog on Why You Should Always Map Your Lash Sets.
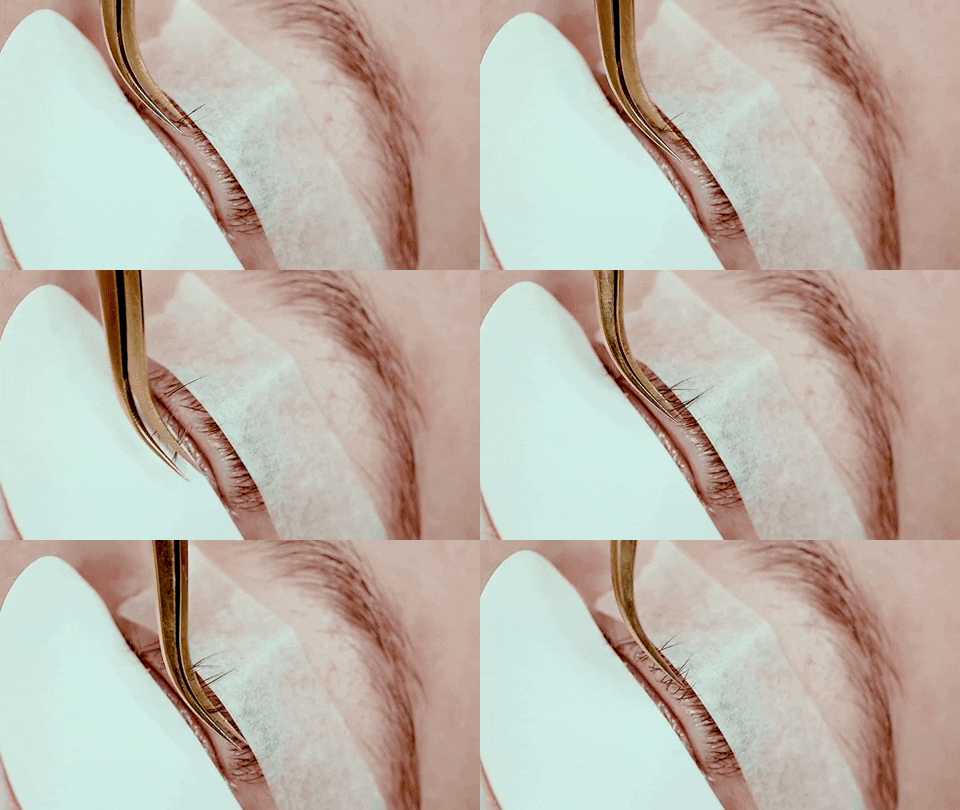
Once you’re a mapping pro, make sure you know how to isolate. Isolating the client’s natural lashes means that you’ll be working according to your mapped plan, lashing specific areas with your chosen lash lengths and thicknesses. There are many ways to isolate your client’s lashes, and in another blog post we’ve compiled some helpful Tips on How to Isolate for Eyelash Extensions. Isolating the natural eyelashes will not only help you to focus on detail specific areas, but it will also help in avoiding stickies which can cause natural lash damage and client discomfort.
The Glue Zone
No, this is not an exclusive night club only Lash Techs know, although it would make for a great idea. The Glue Zone simply refers to the ideal amount of glue on the extension and placement of where you should attach the lash extensions on the natural eyelash. Once you’ve mapped and isolated your client’s eyelashes, you want to place the extension about 0.3 - 0.5mm away from the lash line (depending on where in the lash line you’re applying the extension) to avoid Lash Glue contact with the client’s skin, and to keep the distance uniform through the set. Lash Glue should never touch the skin and you must always remove it promptly if you notice this mistake.
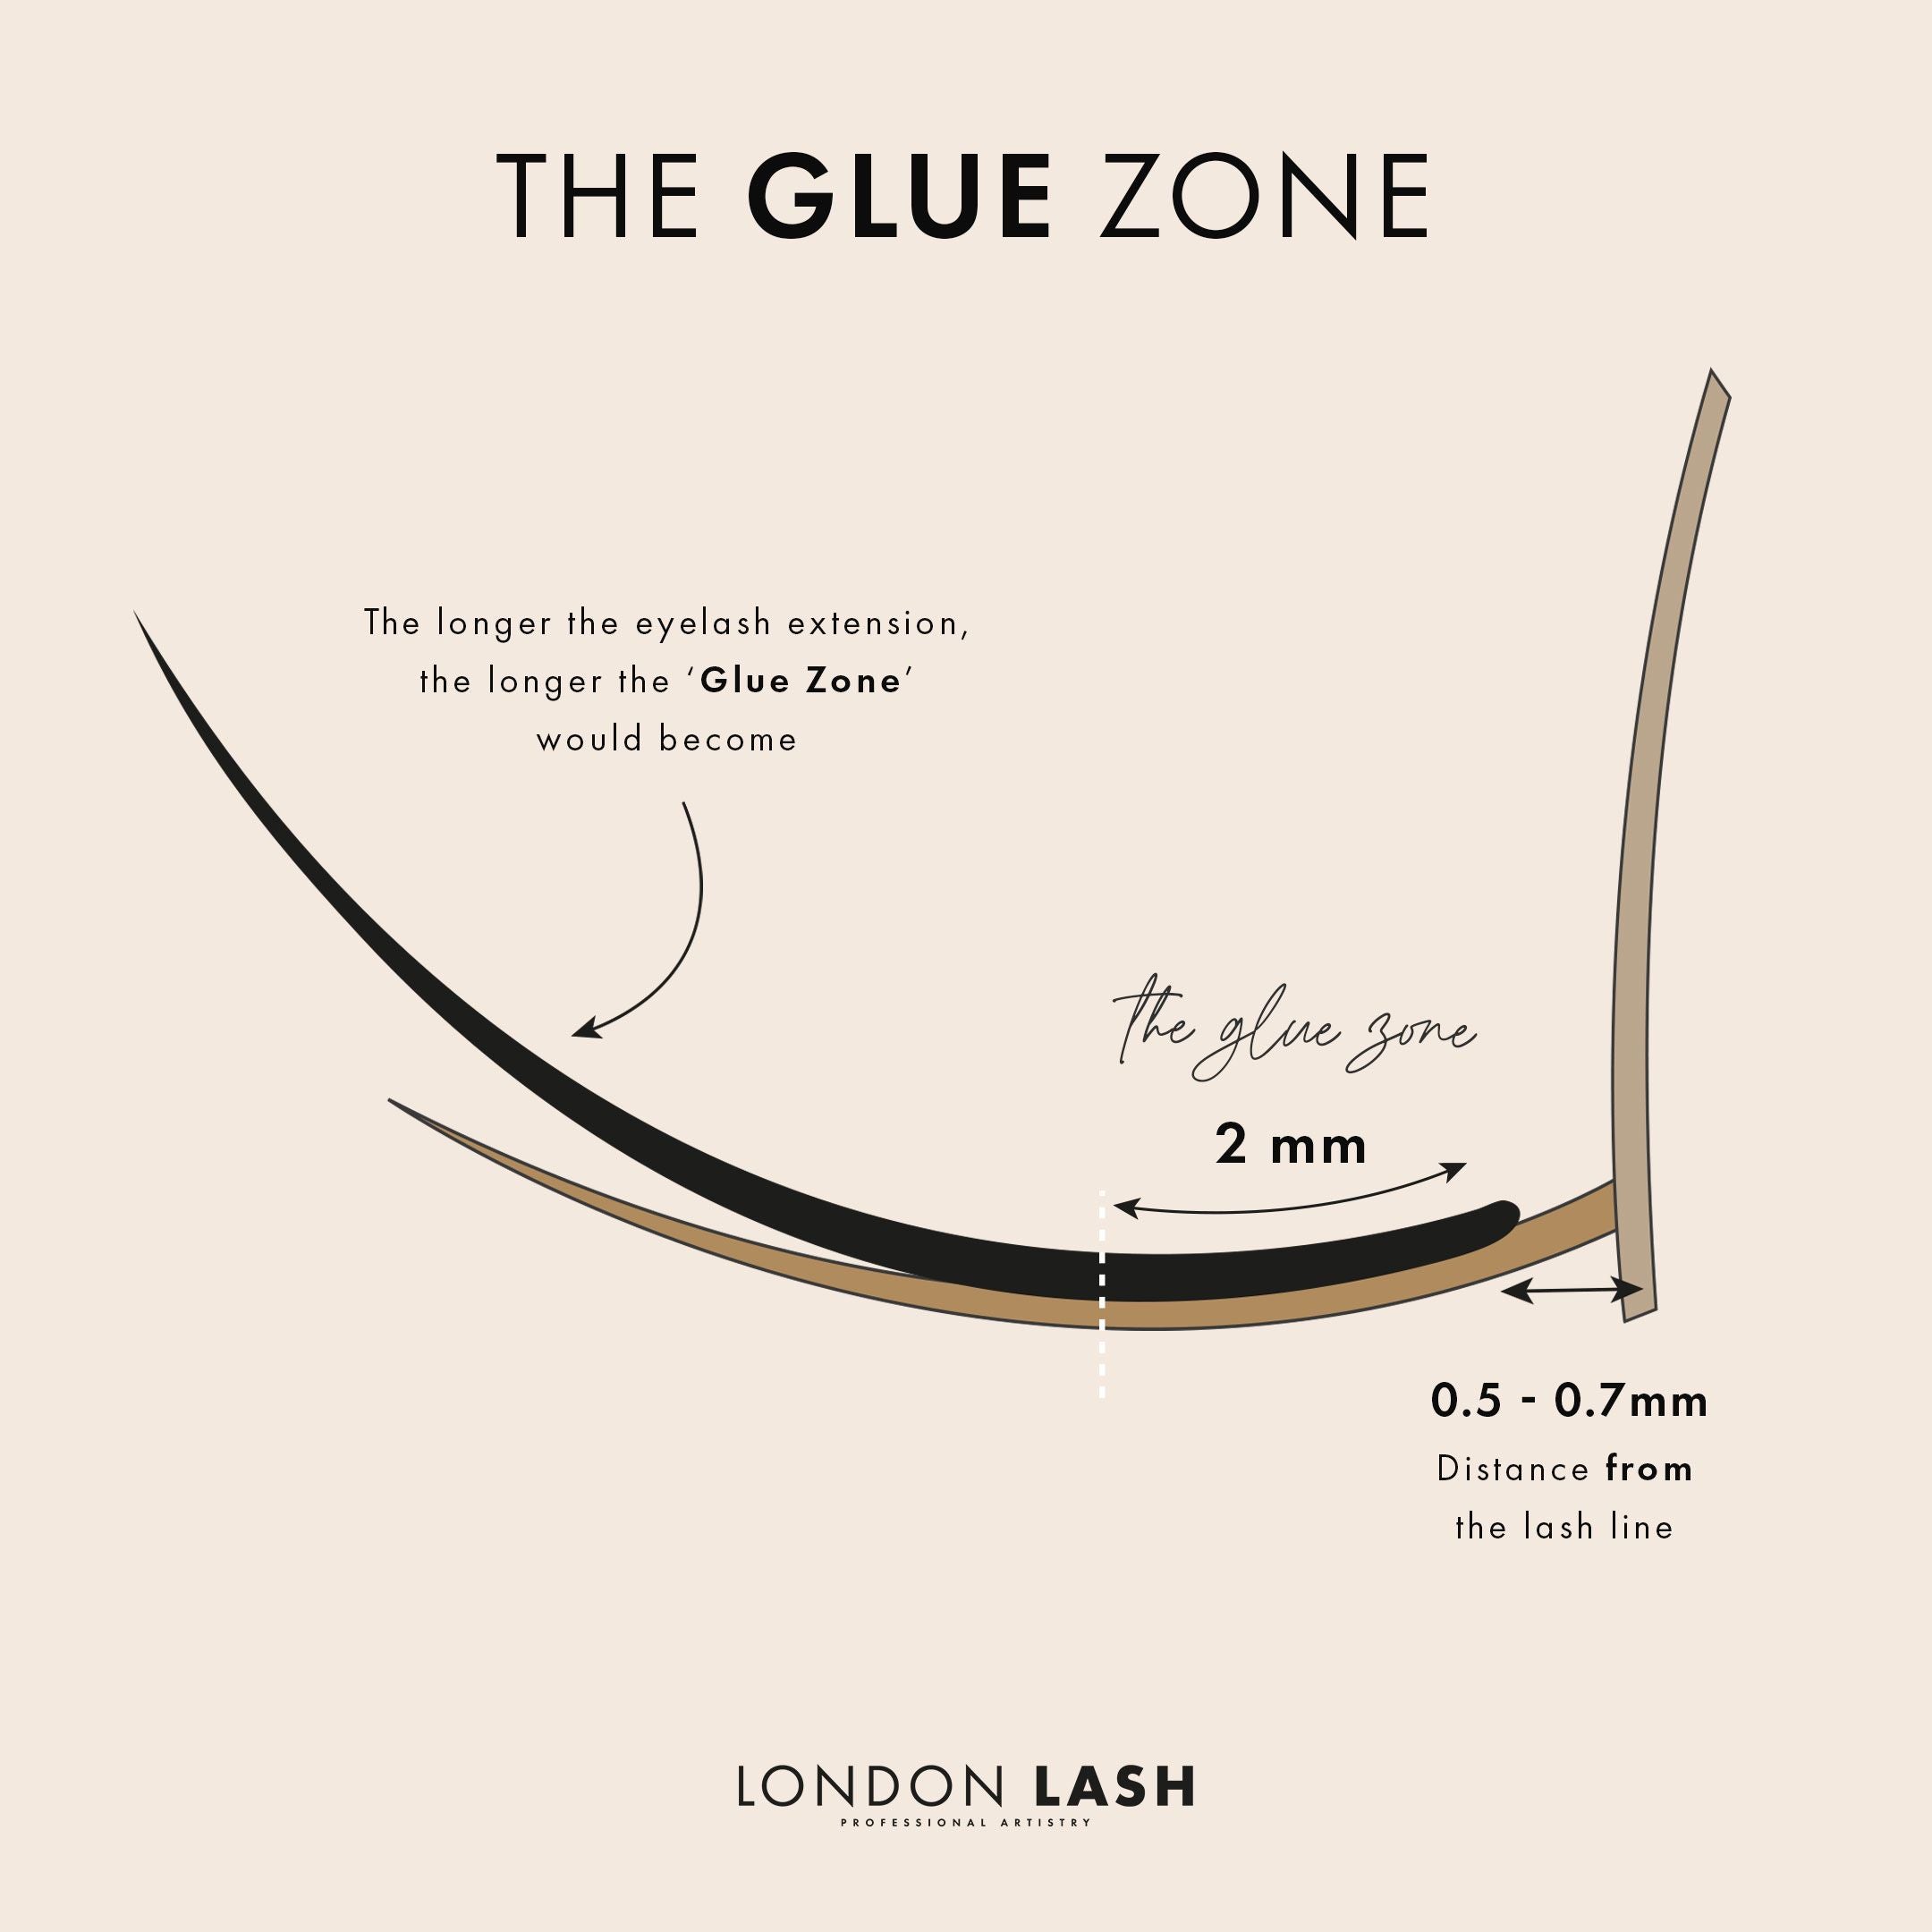
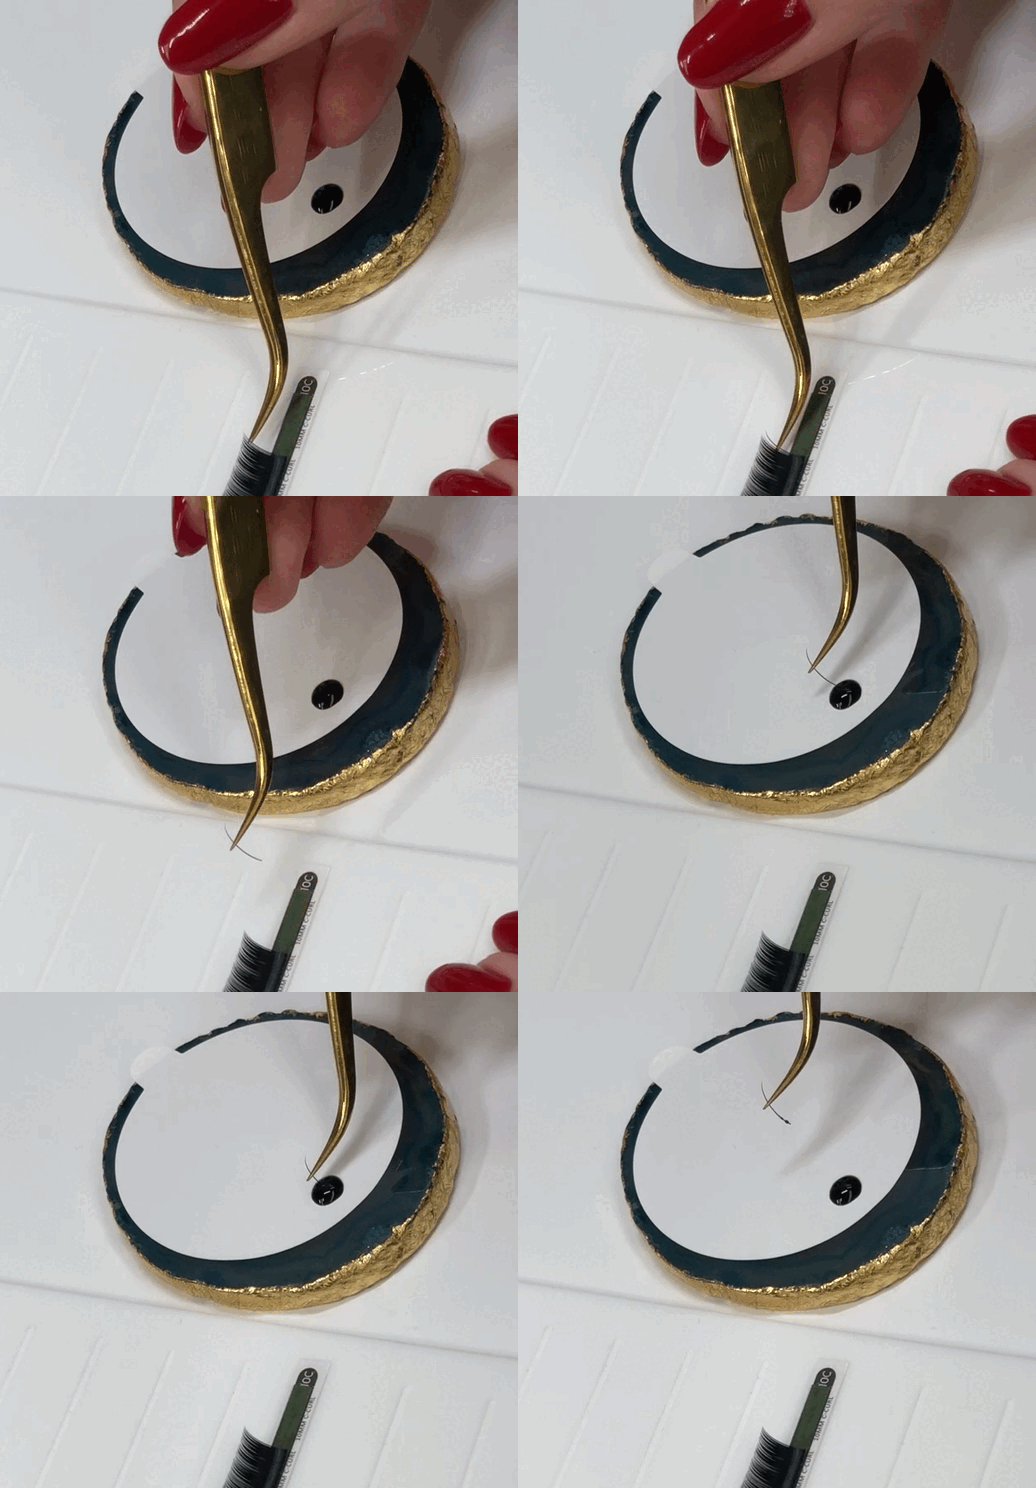
Excessive adhesive on the extension can cause it to stick to a neighbouring lash which in turn causes discomfort and damage. Furthermore, the more glue on the extension the longer it will take to dry, and once placed on the natural lash it could begin to lean to one side as the glue is still wet. You should aim to dip your extensions about 2mm into the glue drop, though consider that the longer the extension, the larger the glue zone will become so as to support it on the natural lash. Excessive adhesive also refers to how much glue you get on the base of your extension – you should aim for a microdrop so that you can form a strong bond between the extension and the natural lash, but there shouldn’t be so much glue that it easily spreads to neighbouring lashes or adds excess weight.
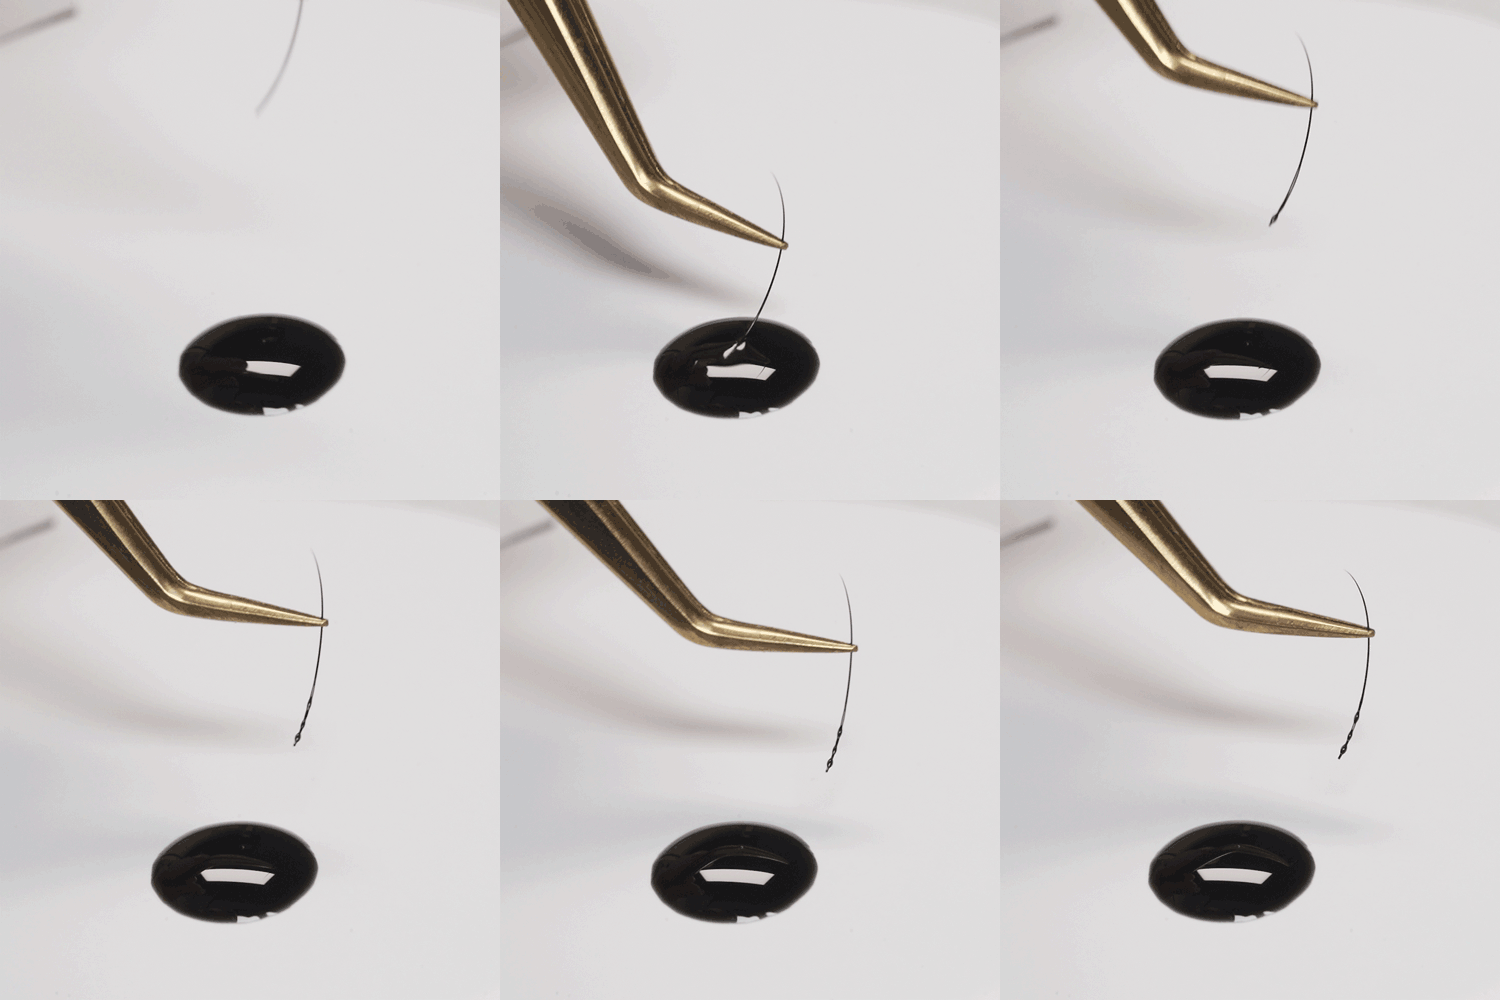
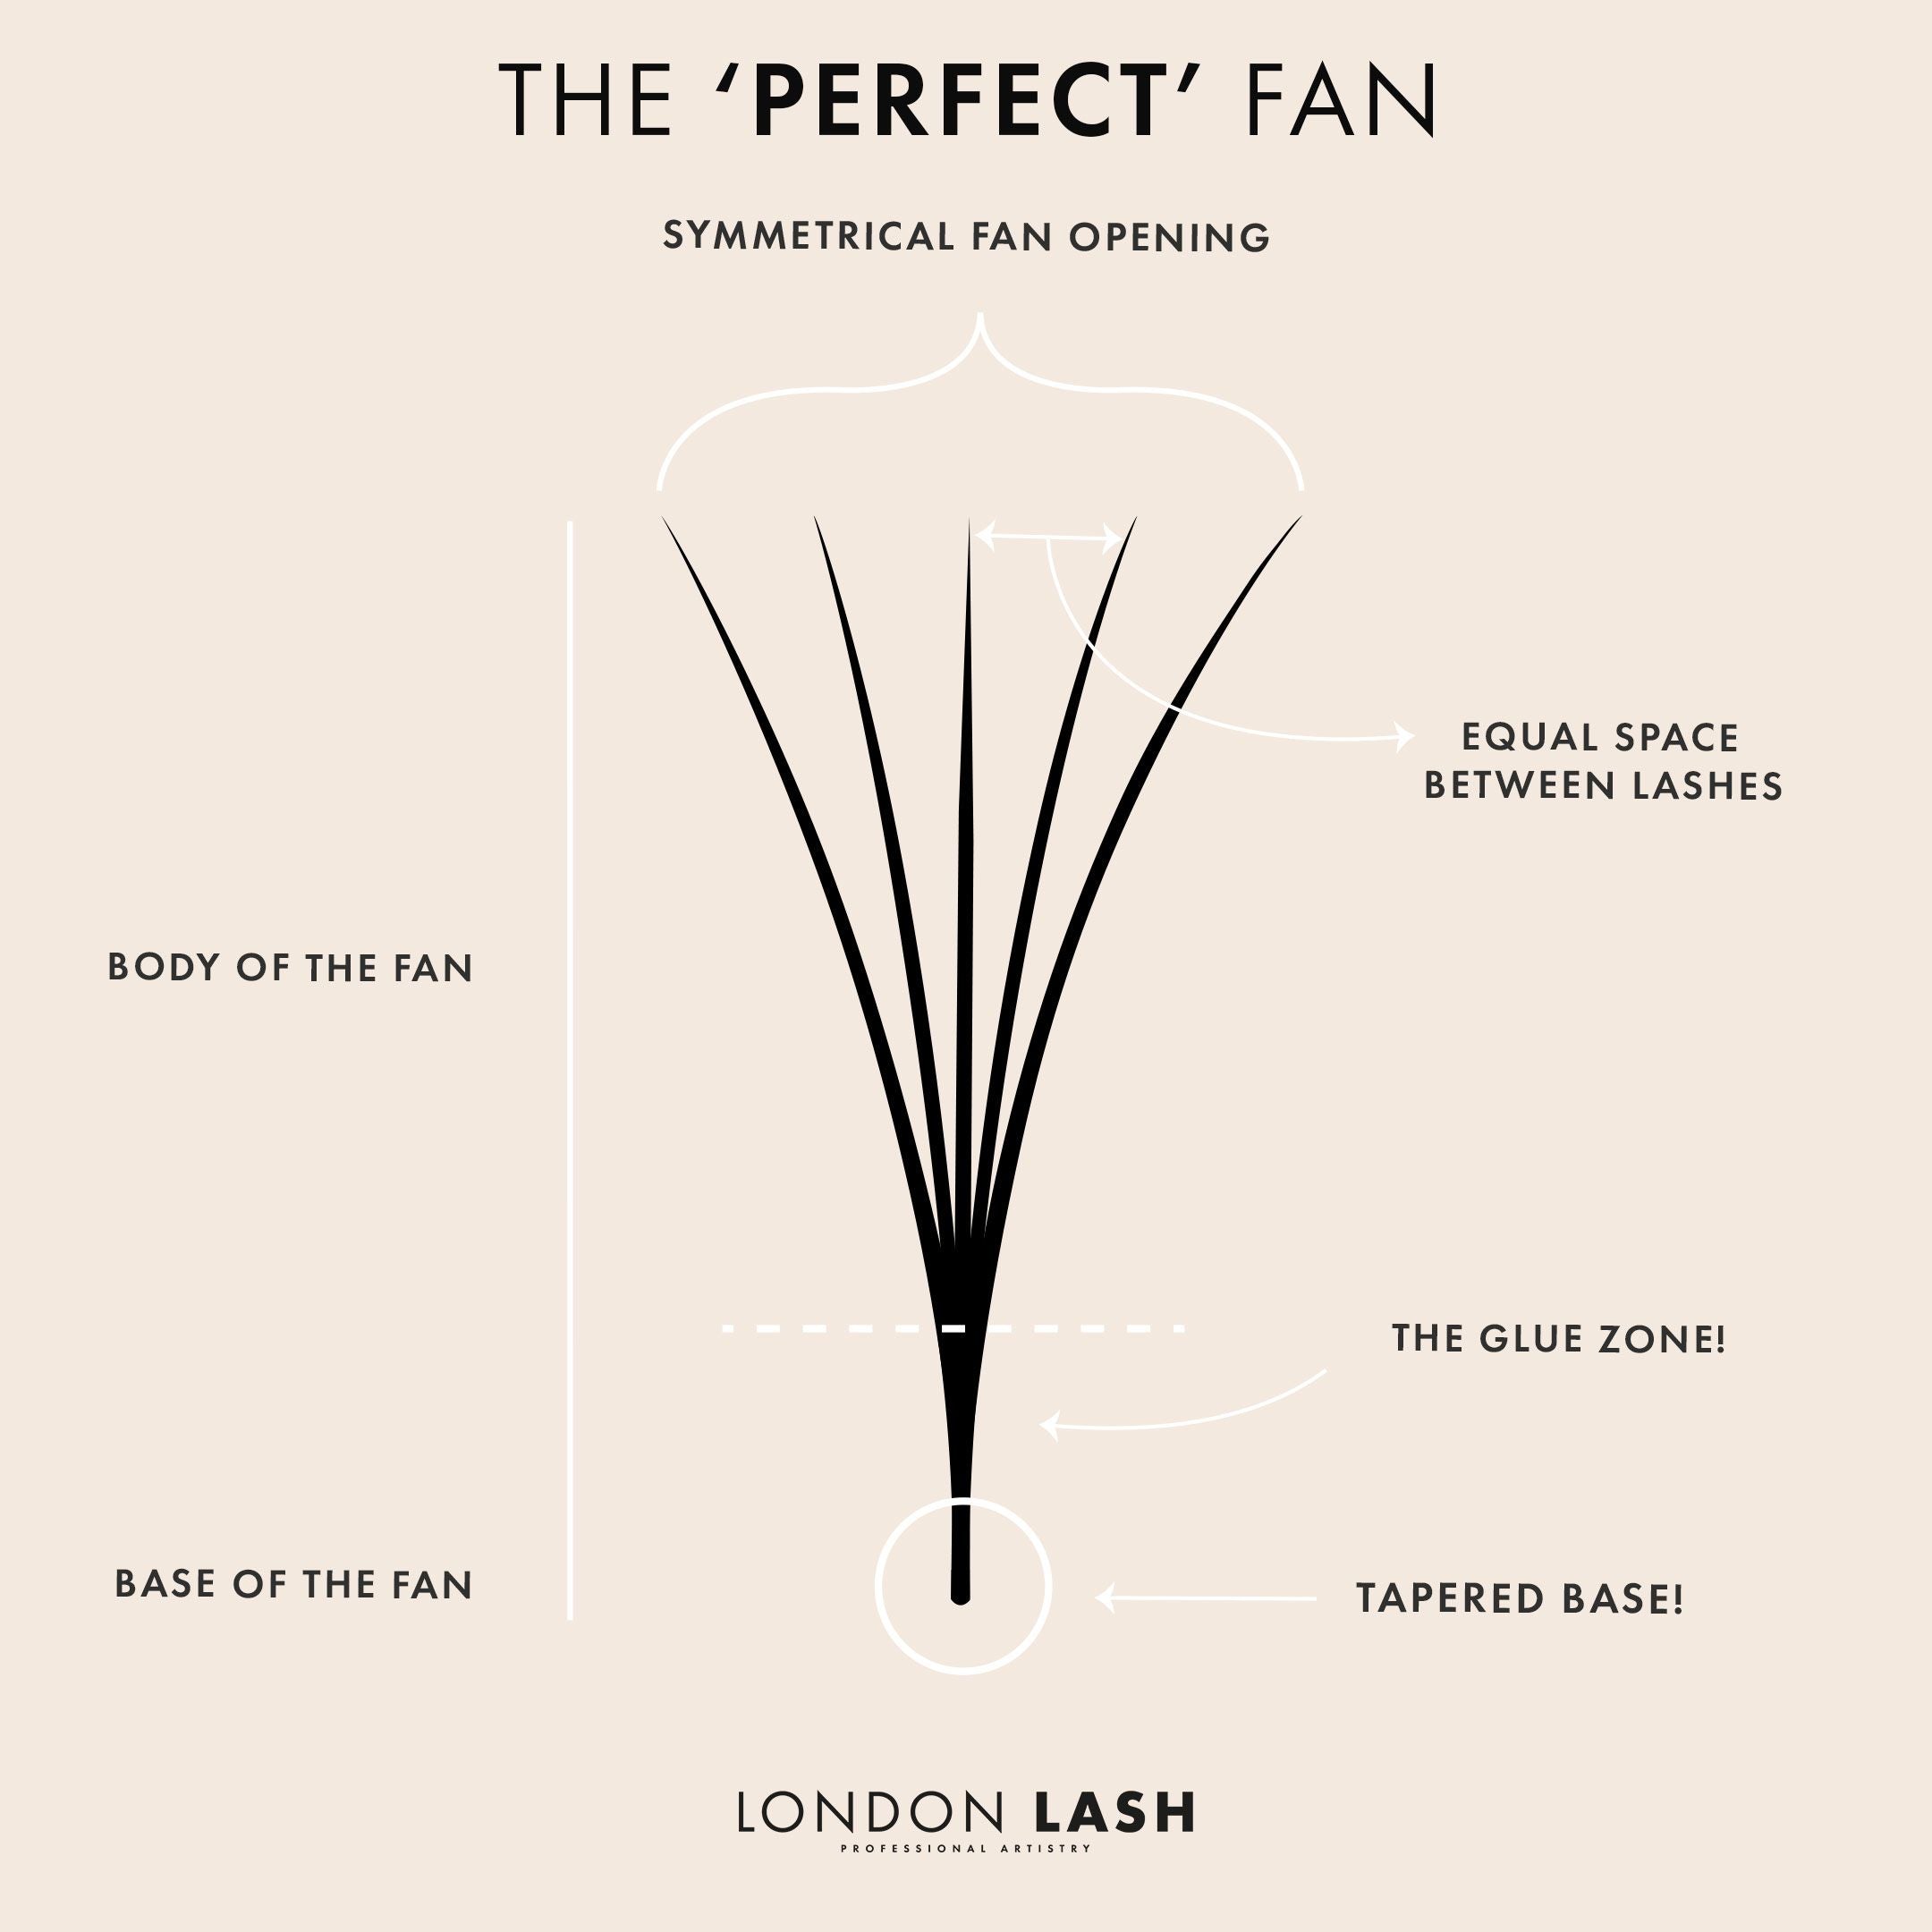
When it comes to volume lash fans, in particular handmade lash fans, you will want to create an evenly spaced out symmetrical fan so that it can support its weight on the eyelash and not cause any leaning or stickies when placed. The perfect eyelash fan will have a tapered base so that the glue can adhere evenly and at the same time bond perfectly with the natural lash. Volume Lashes are thinner than Classic Lashes, but they can create a similar thickness to a classic lash when tapered at the base. You may think that fans require more glue, but on the contrary, you should make sure to dip the fan and avoid going above the glue zone so that the fan does not close up when placed on the eyelash. Using a small amount of Booster on the lash strip will encourage your fans not to close up when placed on the eyelash, as it will prevent glue from travelling up the fan’s leg.
Using the Correct Lash Glue
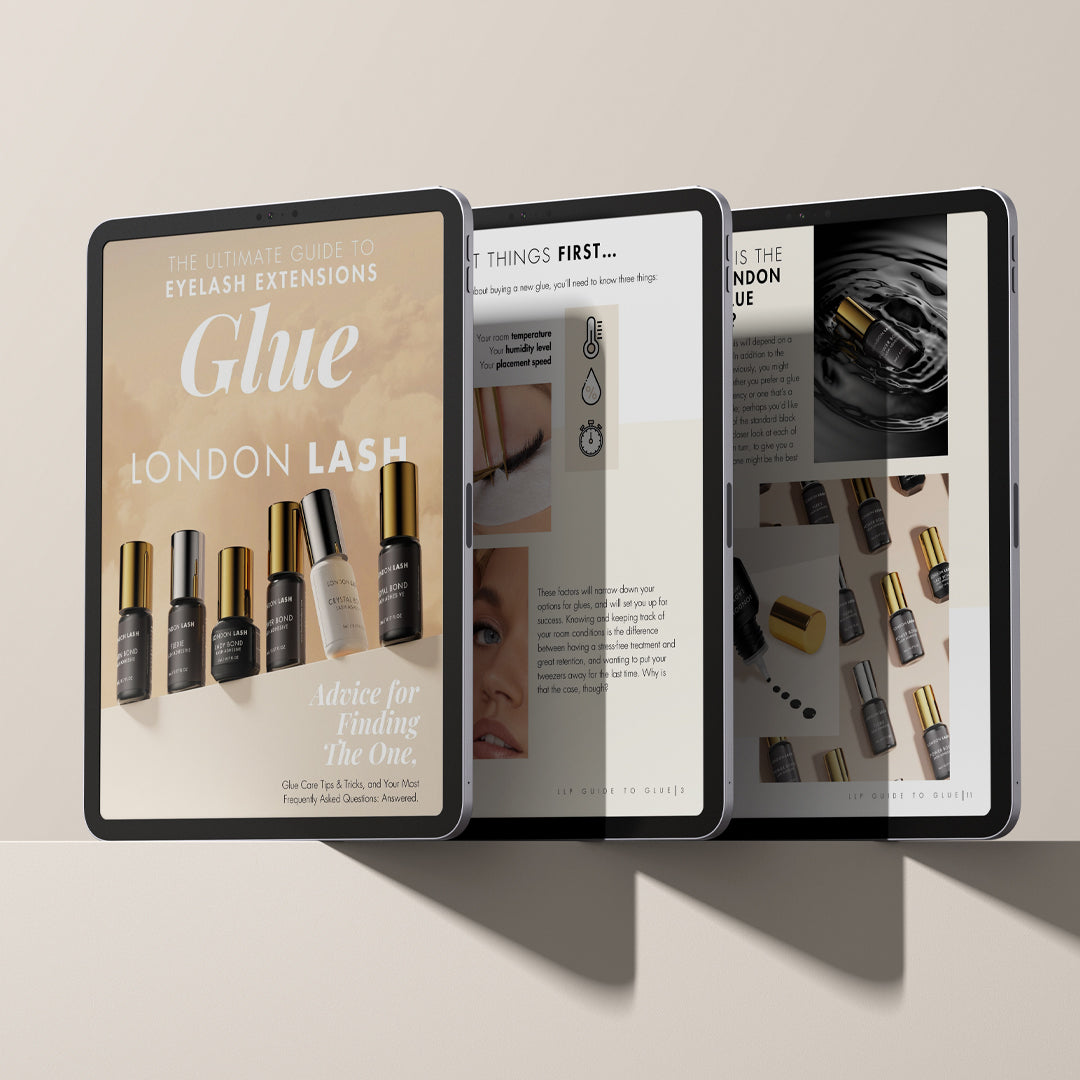
Eyelash Glue is a big topic in lash extensions treatments, and as there are so many different glues to choose from, picking the best lash glue can be a daunting task. The Ultimate Guide to Eyelash Extension Glue eBook dives deep into the topic of eyelash glue, from choosing your perfect match to storing it correctly and finally how to use it to best suit your needs and skill level.
If you’re using a glue that is drying faster than your placement of the extensions on the natural lashes, then you may be placing a lash which will fall off prematurely as the bond will be weak due to the glue curing before it can form a strong bond between the extension and the natural lash. The ideal glue for you is an invaluable tool in your lash kit as it will help you with your placement speed and work with you to make sure you’re placing the lashes correctly and evenly.
With a lot of knowledge comes a lot of skill. Read all about Practising Your Lash Extension Skills next, and start your journey on improving your experience as a Lash Artist. Every beginner Lash Tech begins from the same starting point but progresses at different speeds, so be sure to take your time and celebrate every improvement along the way!
Check out these featured products
Subscribe
Sign up to get the latest on sales, new releases and more …
