FREE STANDARD SHIPPING FOR ORDERS OVER 99€!
FREE STANDARD SHIPPING FOR ORDERS OVER 99€!
Glues & Liquids
Eyelash Extensions
ACCESSORIES
So Henna

The 5-Step Pretreatment Routine for Eyelash Extensions
май 07, 2024 3 min read
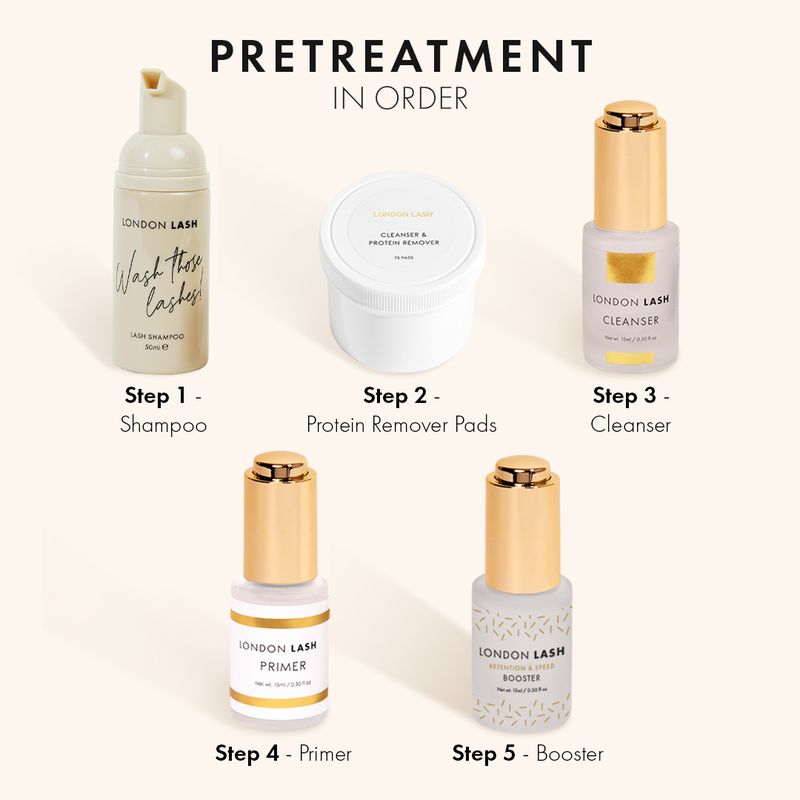
The Full Rundown of the 5-Step Pretreatment Bundle
You may have read our blogs on the Bare Minimum vs Ultimate Lash Extensions Pretreatment, and you may have seen other blogs on seasonal suggestions for Pretreatment products, but what is the full 5-Step Pretreatment bundle and what does it contain? We’re here to help and give you the full insight on our products and further suggestions on how to increase your clients’ eyelash extension retention by following our recommendations.
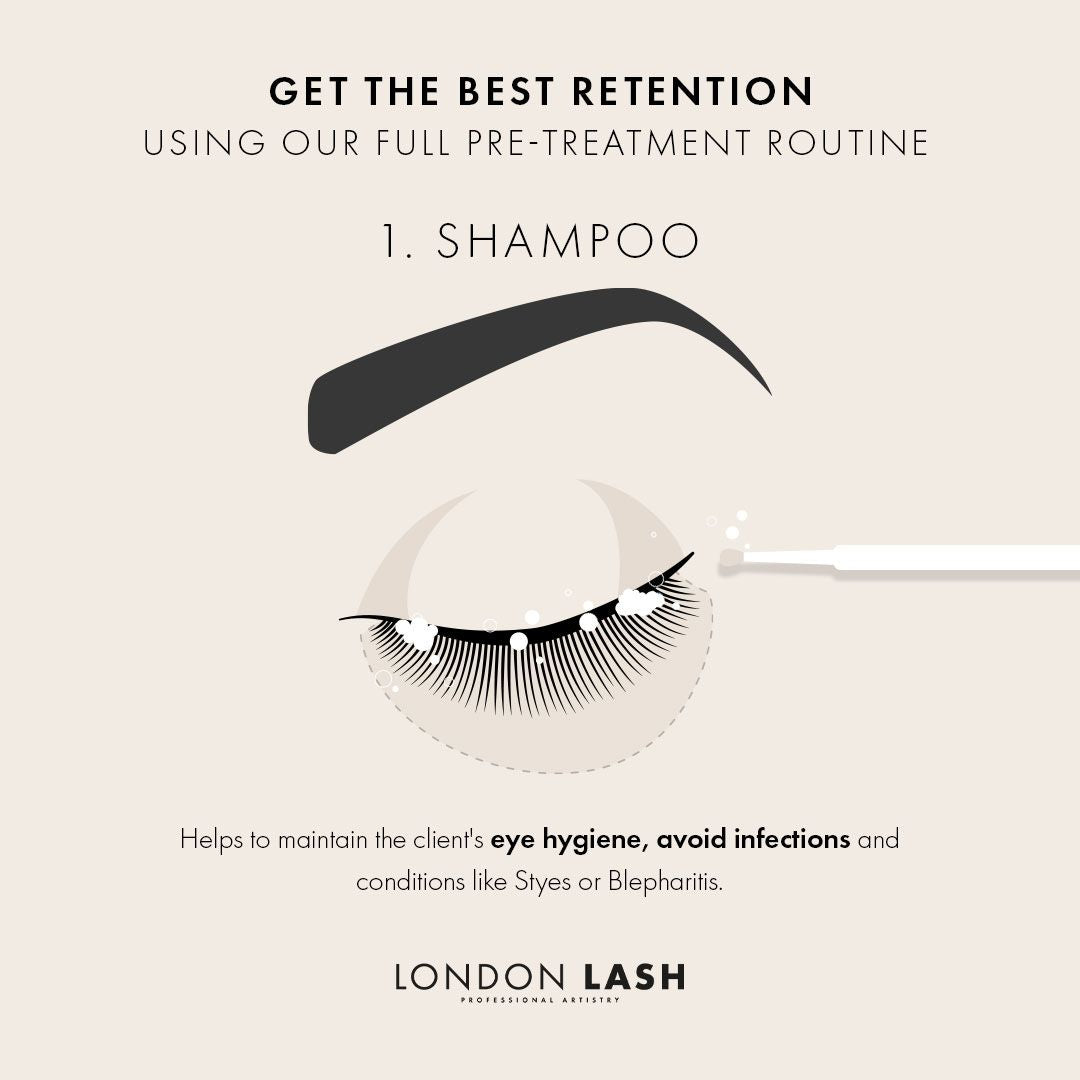
 Step 1 - Foam Cleanser
A foam-based Lash Shampoo, when paired with a Cleansing Brush, effectively purifies clients' lashes by removing oils, sebum, makeup residue, and stubborn sunscreen. Infused with antibacterial Tea Tree extract, it safeguards against infections and enhances the vitality of natural lashes. This essential initial stage ensures the elimination of any impurities and boosts lash health too.
 Step 2 - Protein Removing Pads
This particular stage ensures the most comprehensive cleansing and purification. Protein Removing Pads effectively clean the area, eliminating surplus oils, makeup, and proteins surrounding natural lashes. Any residual oils or makeup overlooked by the Lash Shampoo are effortlessly dealt with by these pads. Our pads are the perfect money saving product. Take a Micro Fibre Brush or Applicator and dip it into the excess liquid of these incredible pads, apply to the lashes and cleanse. Not only are you saving the product in the long run, but you’ll be cleansing your clients' lashes thoroughly.
 Step 3 - Cleanser
The third and final component of our lash cleaning regimen is our Cleanser. Tailored for optimal efficacy, our specially crafted Cleanser eliminates dirt, moisture, and oils residue, particularly effective for clients who have applied heavy moisturiser or sunscreen or have oily skin types. This product effectively neutralises residual oils and impurities post the initial two steps. Utilising two Micro Fiber Brushes, apply a small amount of the Cleanser onto them, sandwich the natural lashes between the brushes, and gently work the product upwards from the roots to the tips, ensuring thorough coating and penetration throughout the lashes.
 Step 4 - Primer
Following a meticulous cleansing process, priming becomes a must. After achieving pristine cleanliness of your client's lashes, using Primer is essential. Through the initial three steps, all the imperfections such as dirt and oils are removed along with the moisture from their eyelashes. Primer serves to rehydrate the natural lash, reintroducing essential moisture vital for a flawless bond between the natural lashes and Lash Glue. Besides enhancing adhesion, Primer also accelerates drying time, as Lash Glue requires adequate moisture levels for curing.
 Step 5 - Booster
The last, but by means, not the least, important stage is the Retention and Speed Booster, this product is a game changer. Given the challenges posed by temperamental environmental conditions such as fluctuating humidity, our aim is to ensure a flawless bond of extensions to natural lashes. Booster gently opens up the natural eyelash cuticles, expanding the surface area for optimal bonding between the lash extension and natural eyelash with your eyelash adhesive. Booster is perfect for clients who experience premature lash shedding or have weaker lashes. With Booster, you’ll be creating a larger area for the glue to bond onto, so why not give it a shot and see how it will change your retention game to the max?
 Post Treatment
While the full 5-Step routine is comprehensive, you can never go wrong with a few extra touches at the end of your application process. Always check for stickies for a good 5 - 10 minutes post treatment using your Isolation Tweezers. Not only will you be making sure the lash set look pristine, but you’ll be fixing any imperfections and client discomfort if any extensions are stuck together tugging onto neighbouring lashes.
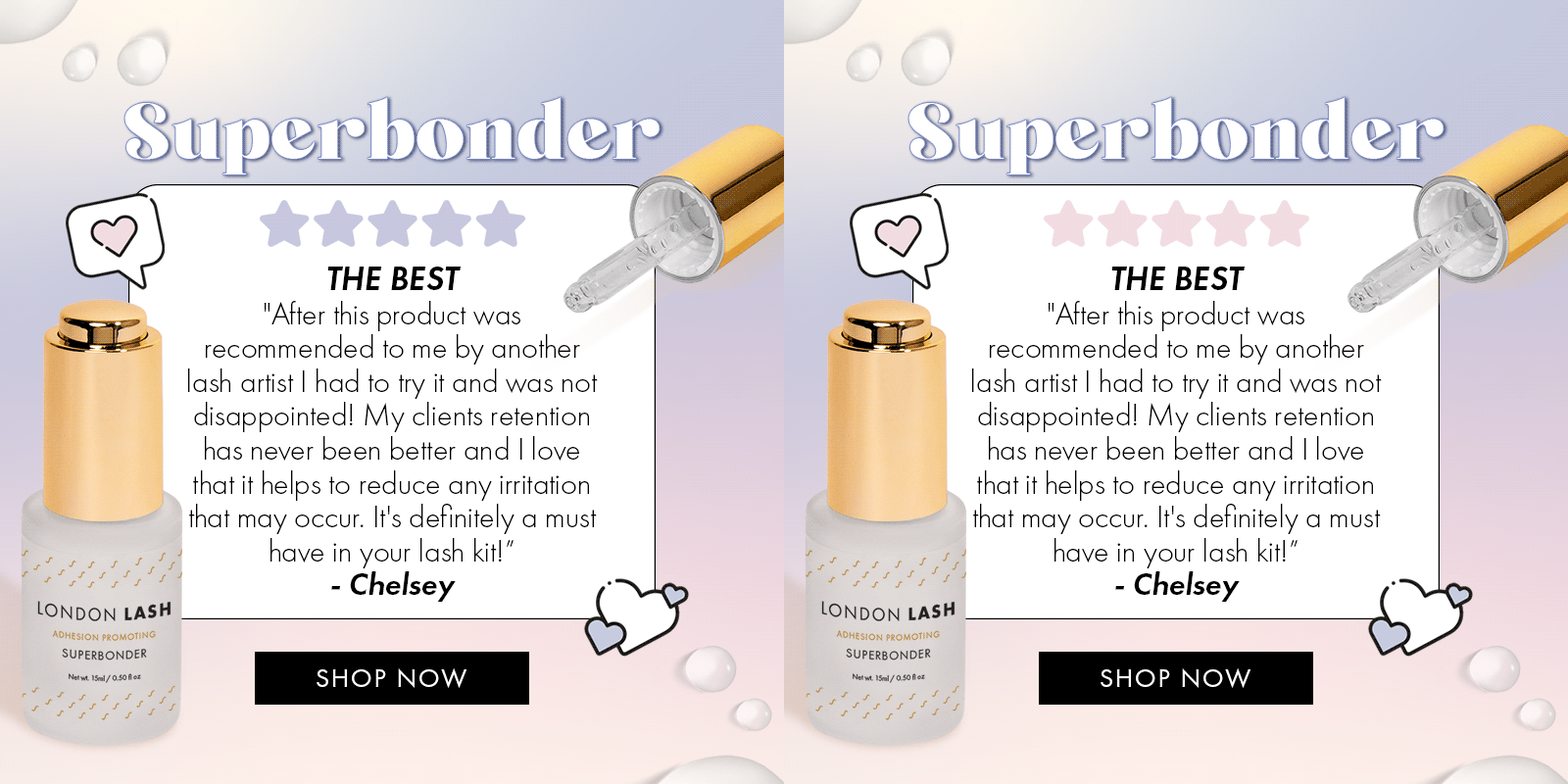
Finally, don’t forget to use Superbonder, a sealant which cures your glue instantly, making your clients lashes water resistant without having to wait the initial 24 recommended hours before coming into contact with water. Furthermore, Superbonder seals in all the fumes from your glue, minimising further exposure to the chemicals present and prevents any irritation to the client.
 So there you have it, the full lowdown on our 5-Step Pretreatment bundle, of which you can save up to 25% if you purchase it as a kit instead of separately. An investment worth making for any professional Lash Artist.
Subscribe
Sign up to get the latest on sales, new releases and more …


