


Bare Minimum vs Ultimate Lash Extension Pretreatment
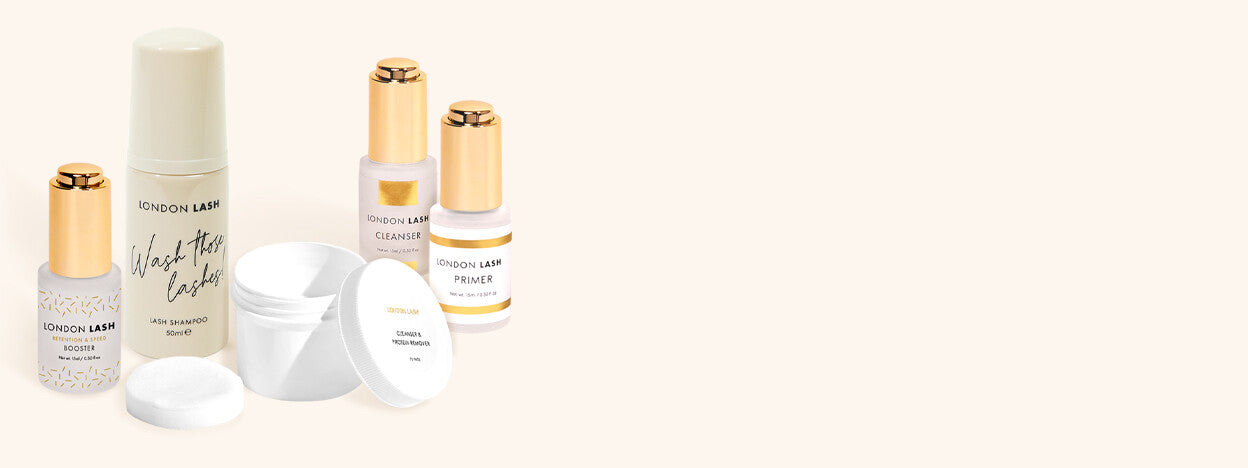

Table of Contents
THREE EYELASH EXTENSION PRETREATMENT ROUTINES: BARE MINIMUM VS ULTIMATE
Are you wondering how to set the stage for a stellar eyelash extension application? The answer is all in the Pretreatment routine. Just like preparing a canvas for painting, a well-executed Pretreatment can make your Lash Extensions last from 2 weeks without Pretreatment to 4 weeks with amazing retention. More importantly, it can keep your clients happy and coming back for more, knowing you're using quality and professional products.
In this vast world of pretreatment products, it's normal to feel a bit overwhelmed, especially if you're new to the game. So, we've got your back. We've prepared three levels of Pretreatment Routines - from bare-bones to super-premium - based on our experience and what we teach in our accredited courses.

Level 1: The Bare Minimum - One Product Wonder
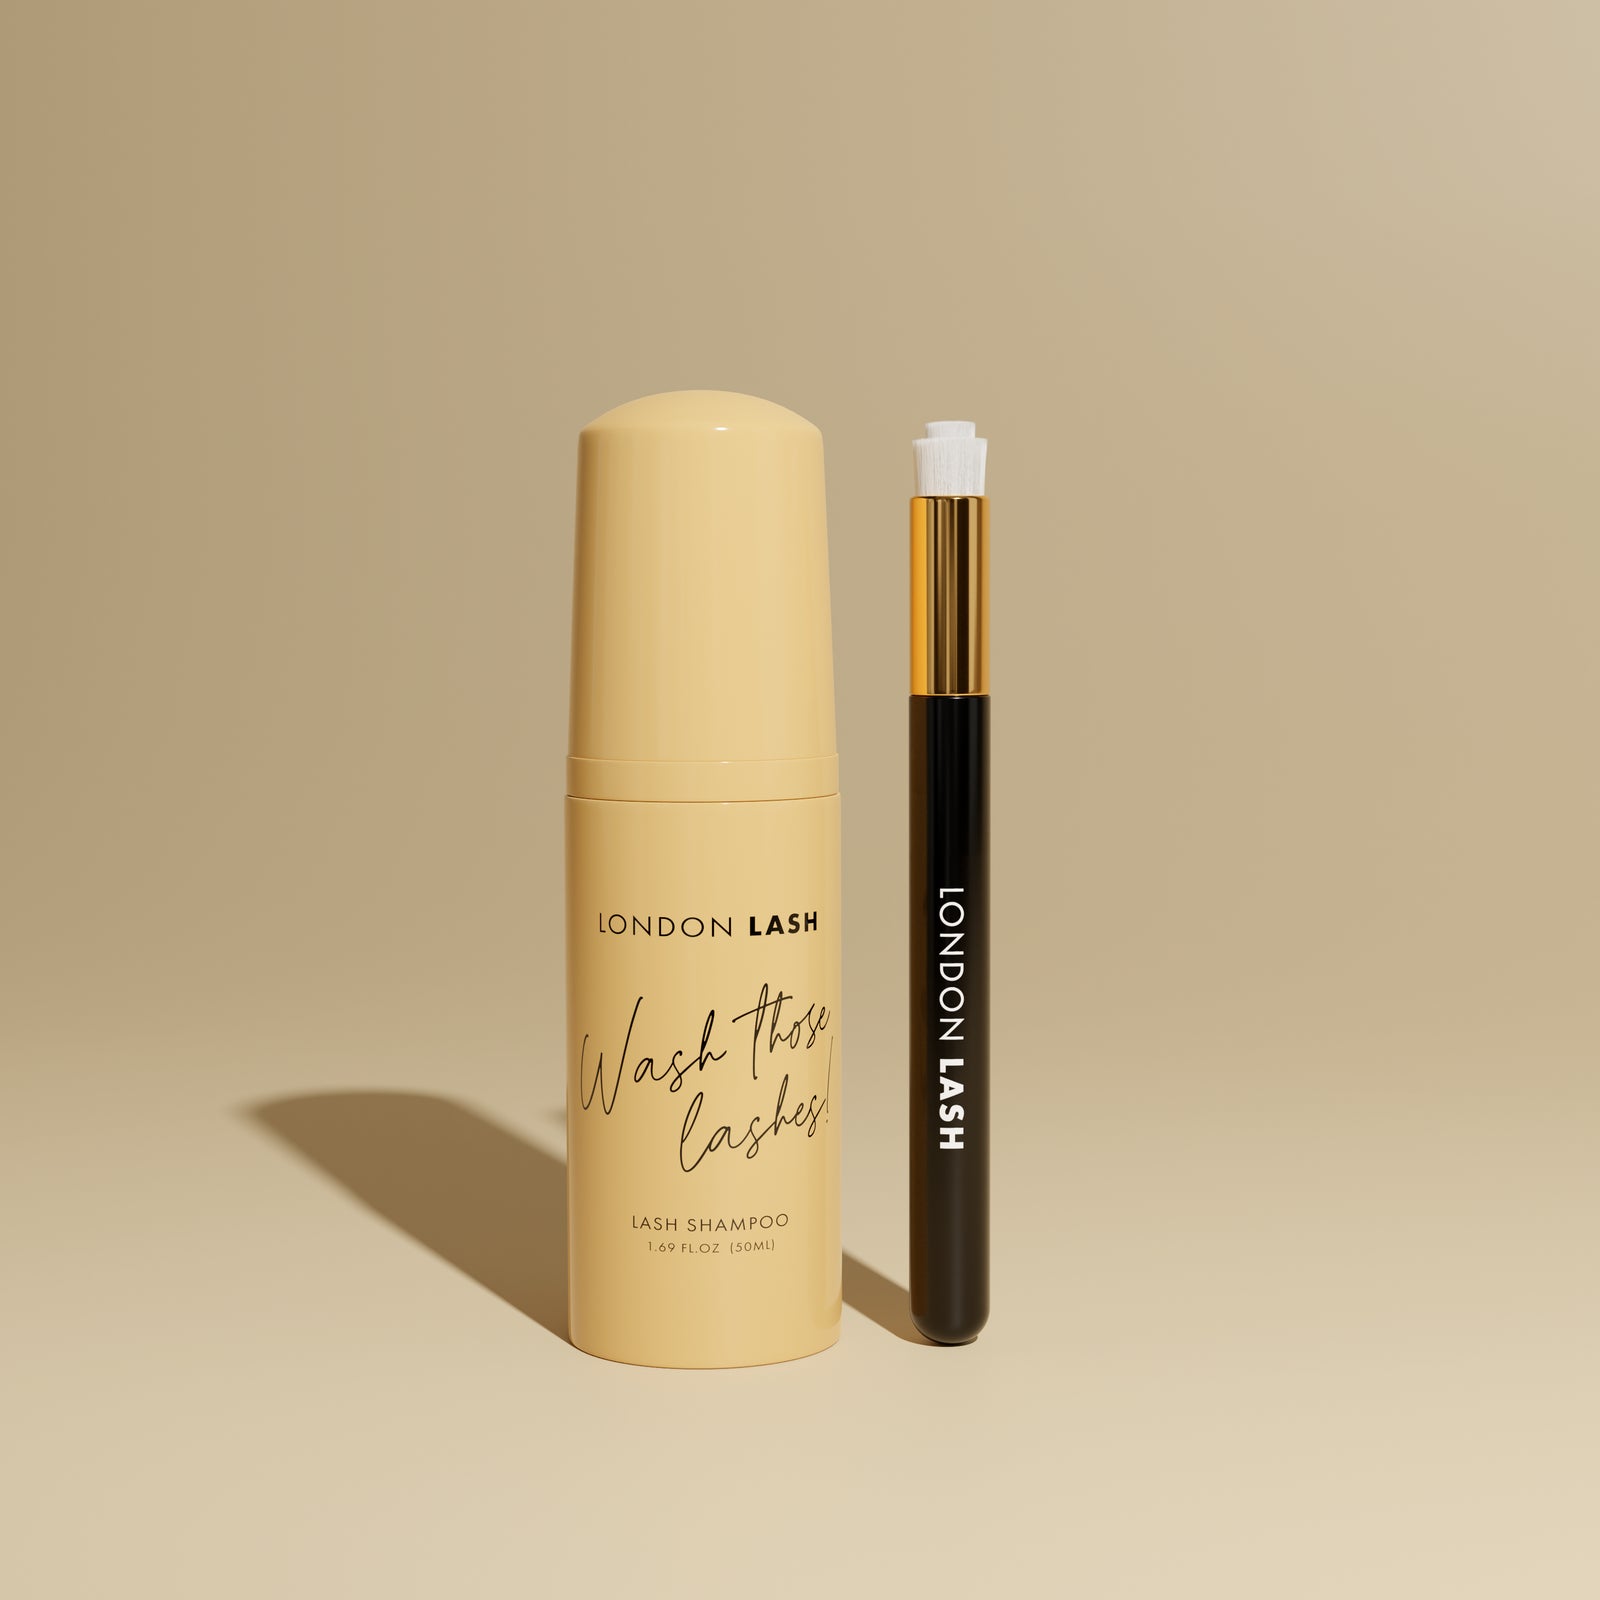
For Lash beginners just starting out or on a tight budget, a foam cleanser Lash Shampoo might just do the trick. Although not as thorough as our other routines, it does help remove makeup, dirt, and oils around the eyes. It's like a quick rinse for your lashes. The tea tree extract will protect the natural lashes from any infections and promote natural lash health.
Think of it like cleaning your kitchen counter with a warm damp cloth. It may not get rid of the stubborn stains, but it definitely gives you a cleaner surface to work with.Just remember to rinse thoroughly, leaving no trace of the cleanser. That way, the adhesive can bond seamlessly with the natural lash.
How to Use: Dispense a pump of the foam cleanser onto the lashes and gently massage using a lash Cleansing Brush. Rinse with saline solution, pat dry, and voila - you're ready to apply your Eyepatches.
Cost: €19.95 when purchased individually, or get our Clean Lashes DUO (Foaming Cleanser + Cleansing Brush) bundle for just €14.95.
Time Spent: 3 minutes

Level 2: The Middle Ground - 3-Step Routine
Ready to step up your lash Pretreatment? This routine is all about cleaning and prepping the eye area and natural lashes for the eyelash extensions and eyepatches.
Imagine this step like cleaning your kitchen counter with a sponge, soap, and hot water. You'll be able to tackle tougher grime and get a cleaner surface.
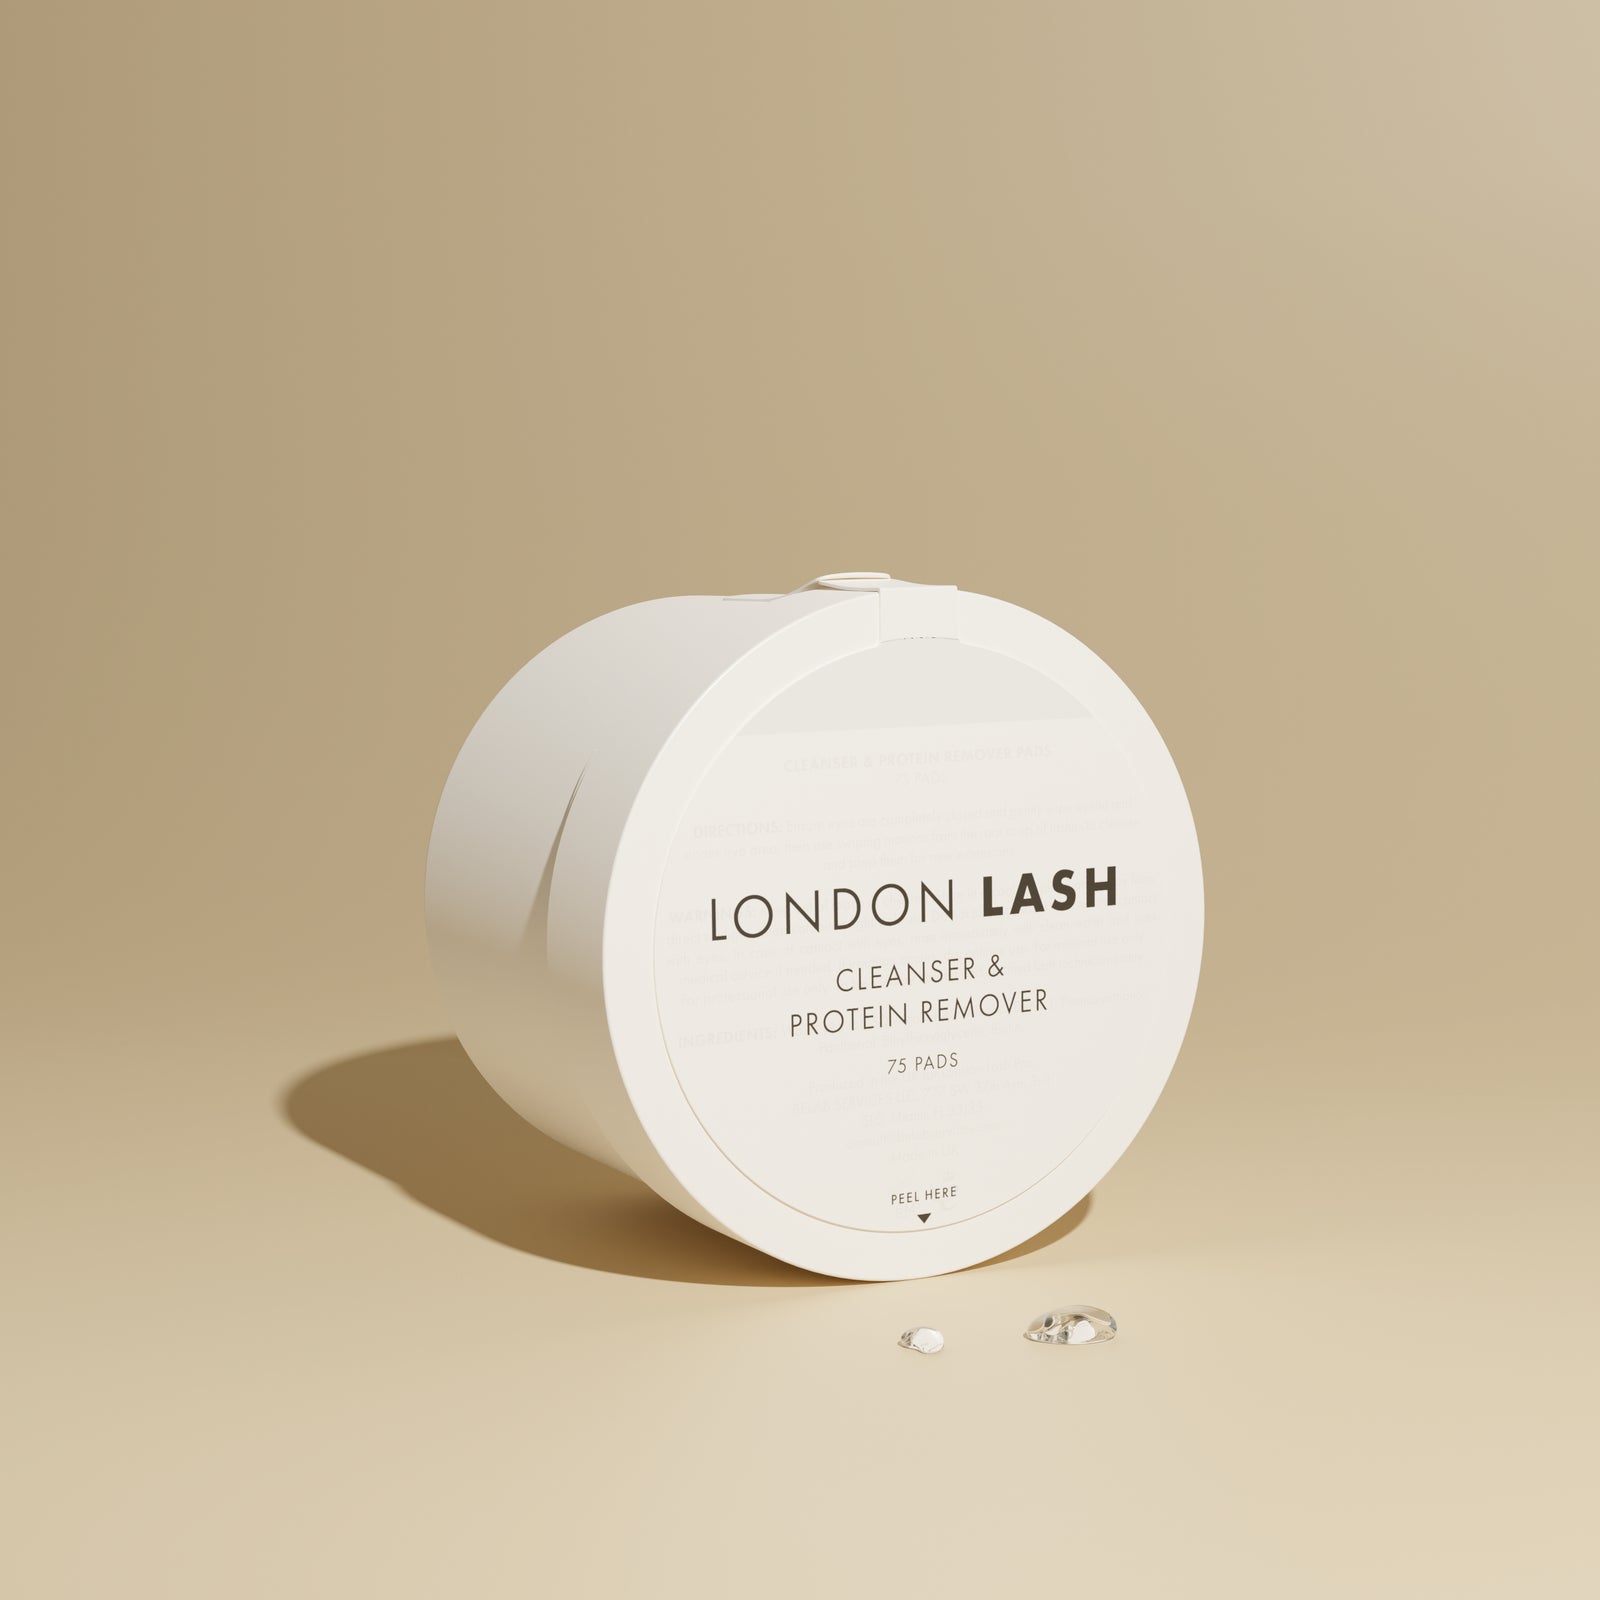
The first step is our Protein Remover Pads - it's like a magic wand for the eyes. For an extra deep clean, we have a nifty trick: use two Micro Fibre Brushes to reach along the lash line. Simply dip the brushes into the pad making sure they are saturated in the product and go in for a thorough clean up.

Just be careful if you're doing an infill to avoid disturbing the glue bonds. You wouldn't want your client to walk away with white fibres from the pads stuck in their lashes.
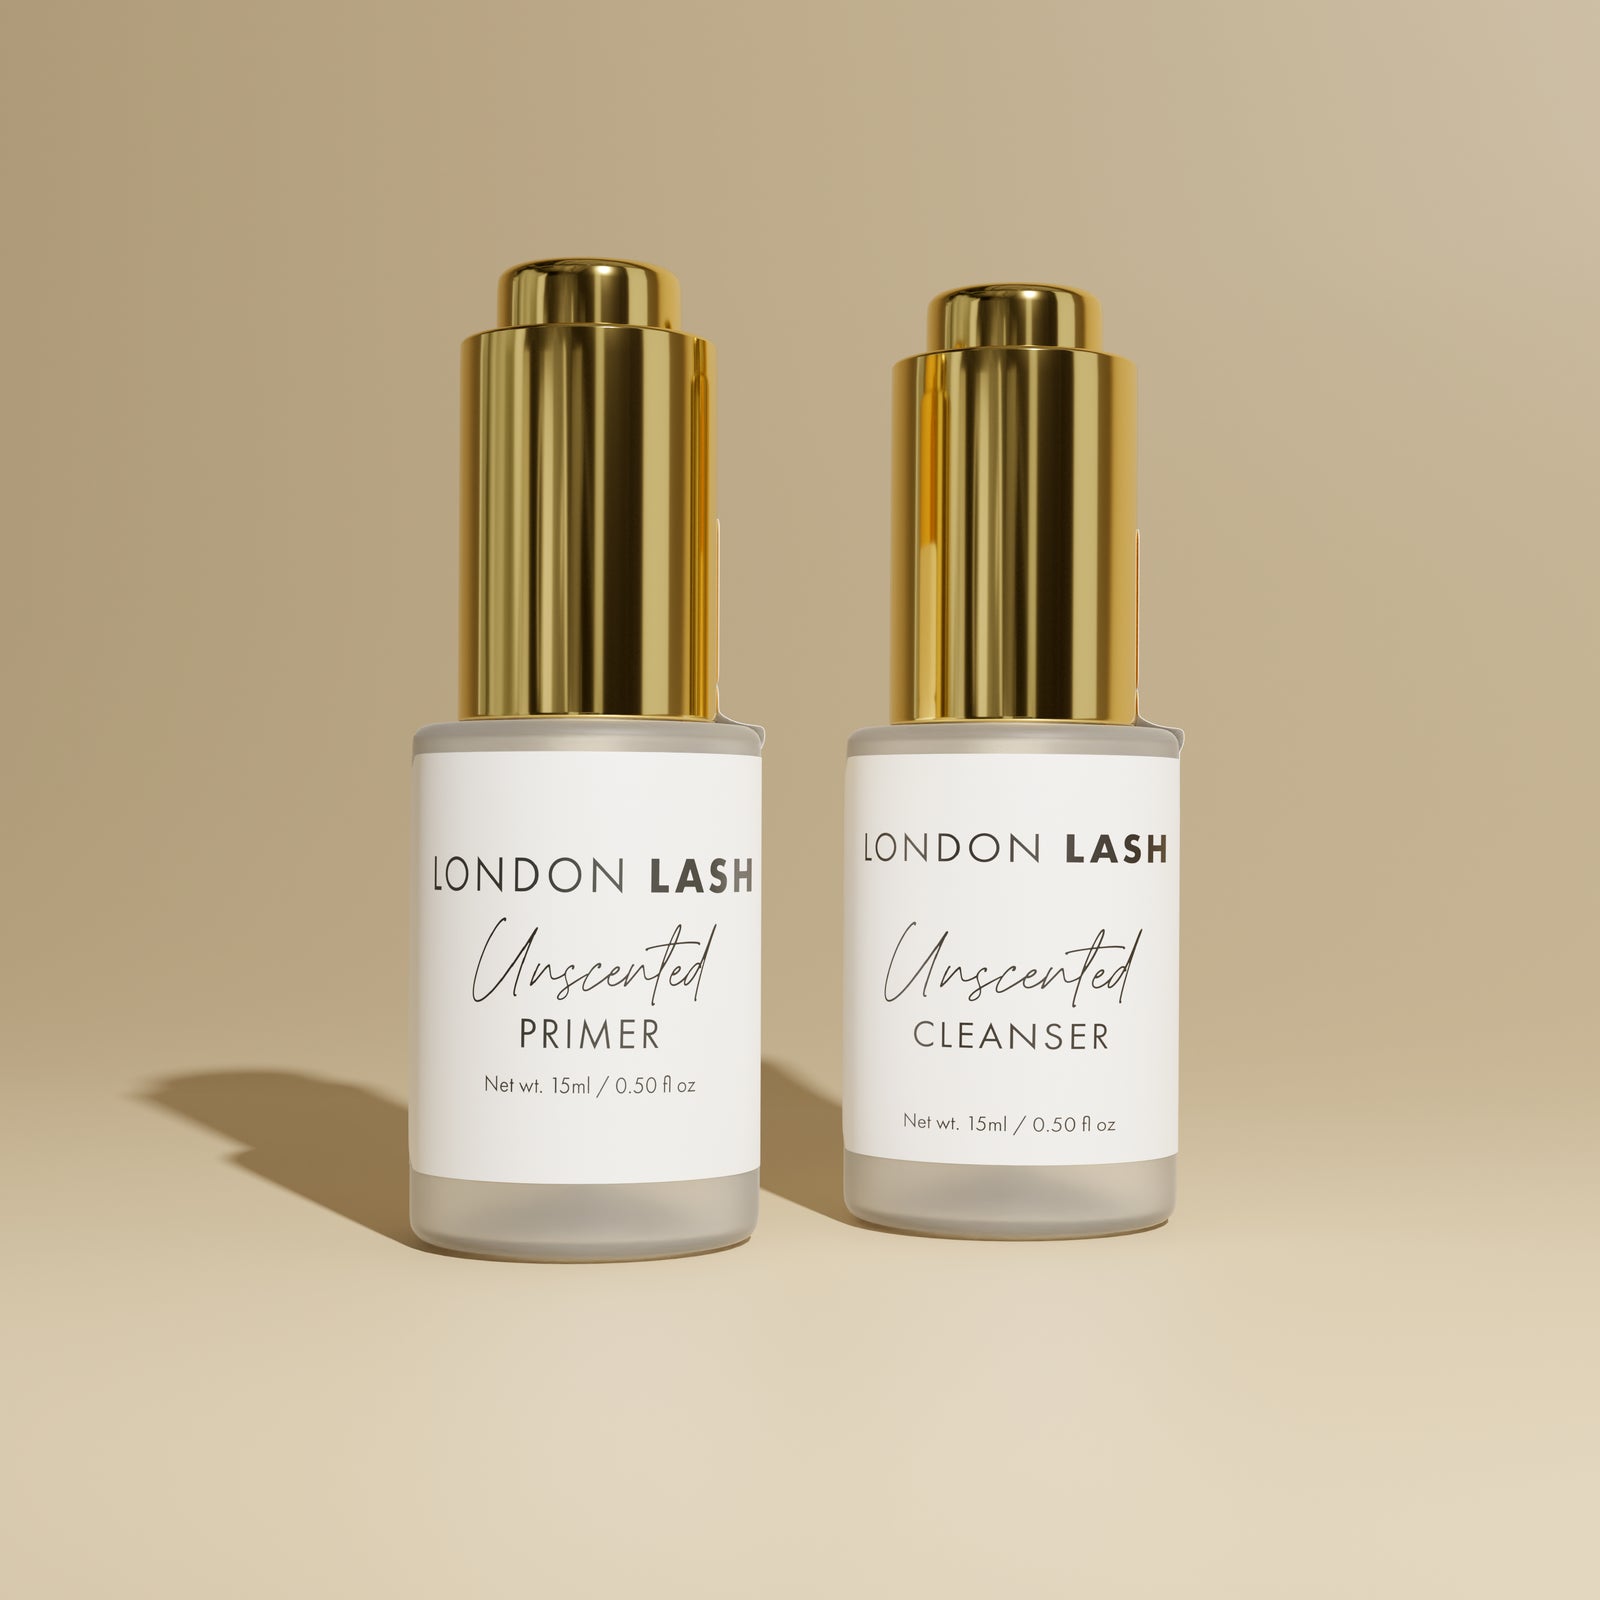
The second step is our pretreatment Cleanser, a different beast than the Foaming Cleanser, and needs to be followed by Primer. The Cleanser works like a charm in eliminating dirt, makeup, sebum and oils, but it also removes moisture. That's where the Primer comes in. It restores the moisture, essential for your glue to cure quickly. Without it, you could end up with sticky lash extensions - a nightmare for any Lash Technician.
Cost: €60.45 (Protein Removing Pads + Cleanser + Primer + Micro Fibre Brushes) or save 25% when purchasing our Super Prep DUO (Cleanser + Primer) for €27.95.
Time Spent: 10 minutes

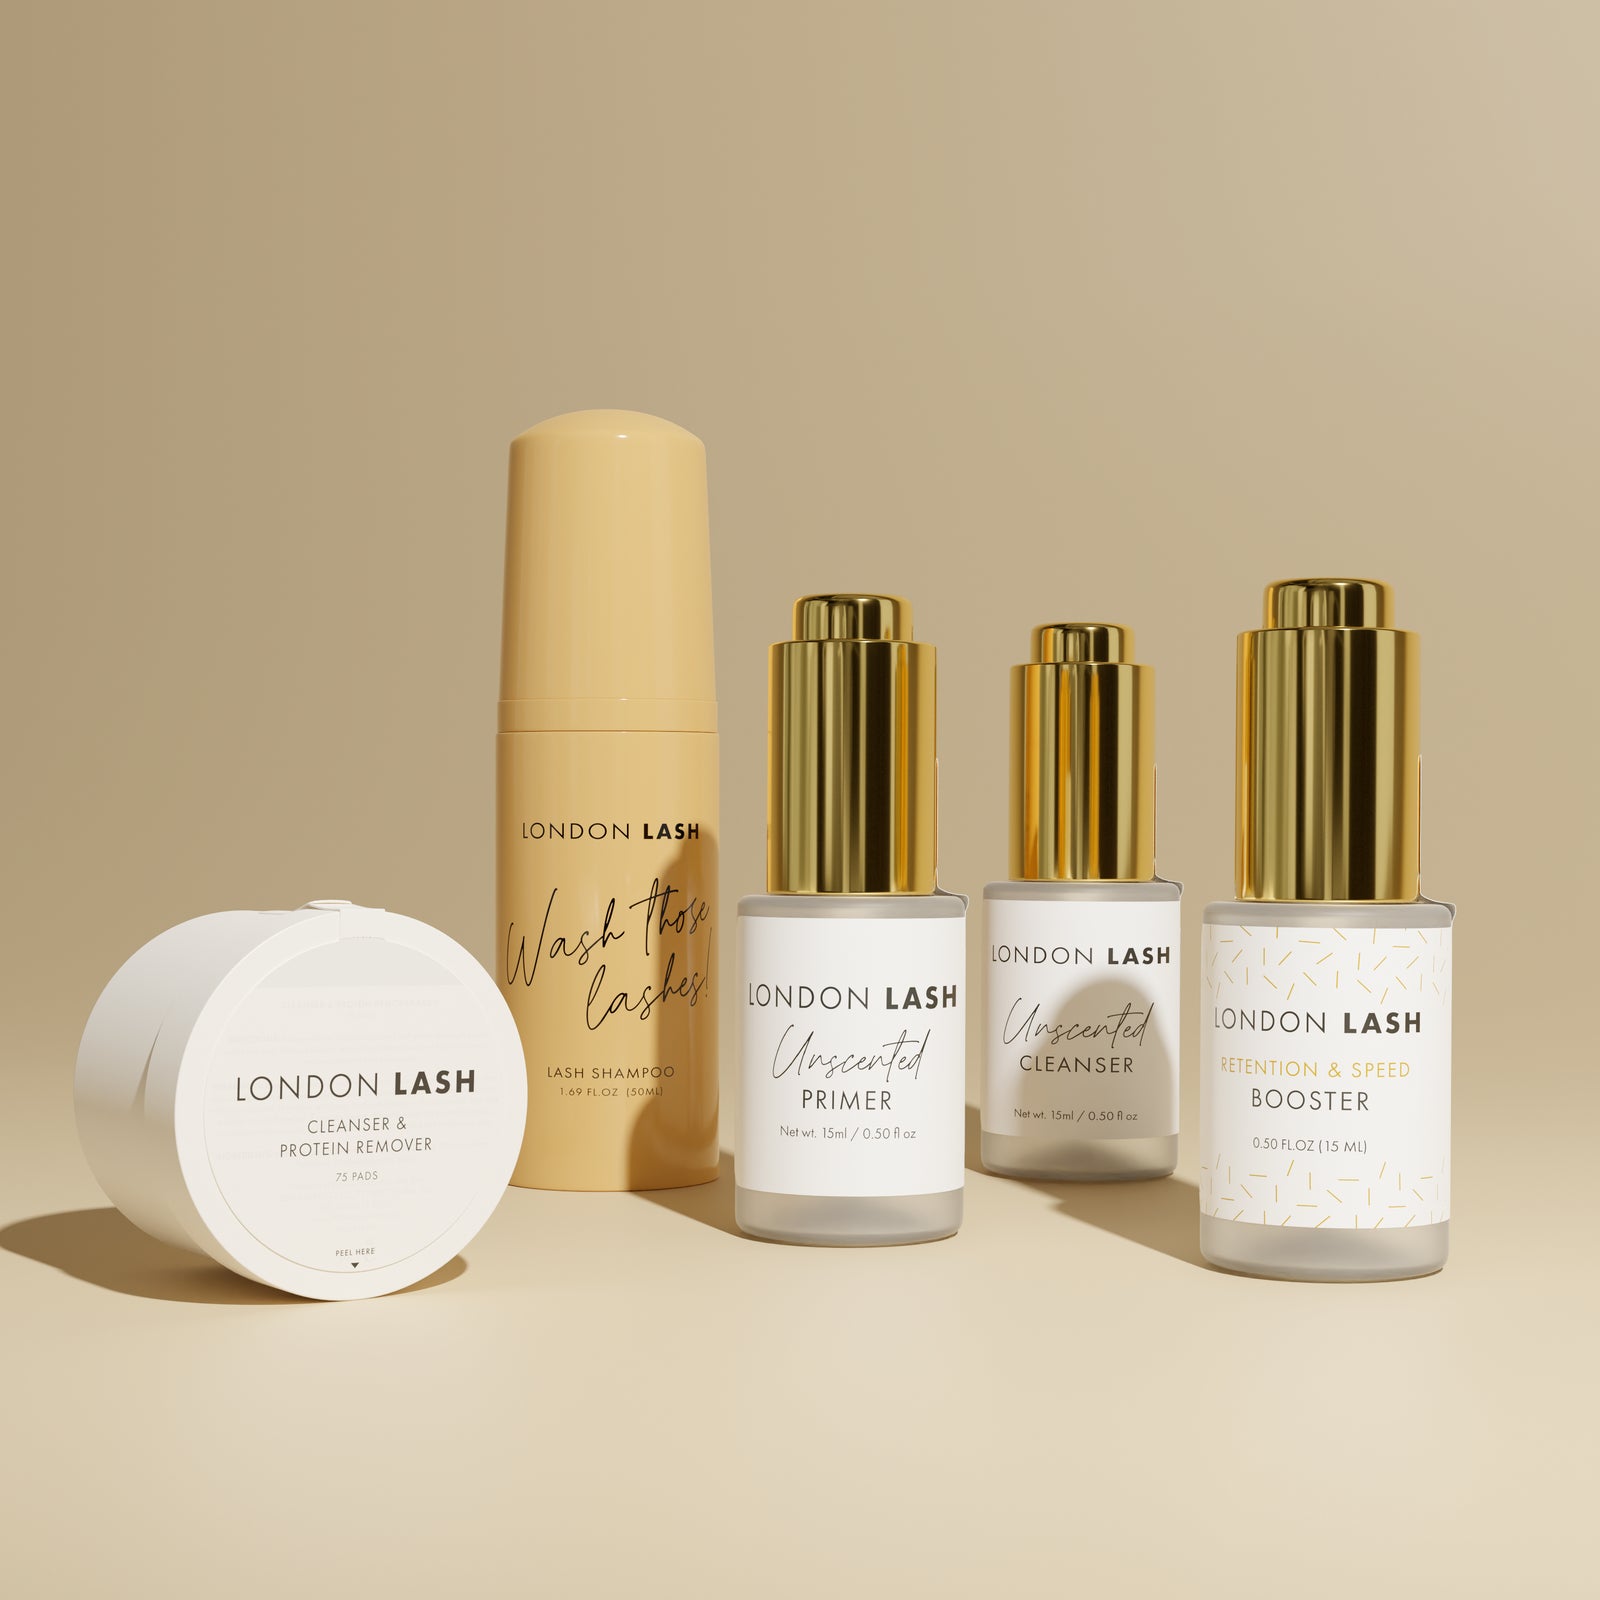
Level 3: The Ultimate - 5-Step Routine
This is the crème de la crème of Pretreatment Routines, the one we teach in our accredited courses. It includes everything in Level 1 and Level 2 Routines, with a special addition - the Booster. Read a detailed blog post about the 5-Step routine here.
Think of Booster as your secret weapon. Its alkaline pH gently opens up the natural lash cuticle, increasing the surface area for the Eyelash Glue to grip onto. It's like power-washing your kitchen counter before you start cooking - it gets the surface as clean as possible and ready for action.
This routine can significantly speed up your work and improve lash retention. But a word of caution - it's best used by experienced lash technicians due to its potency.
Cost: €95.75 when sold separately. (Or get our special discounted Bundle for €70.95)
Time Spent: 15 minutes