Mastering So Henna Brows for the Summer

Table of Contents
Summertime Henna Brows
Each summer, brow-loving clients look for beauty solutions that are as low-maintenance as they are stunning. Henna brows are an ideal choice, providing long-lasting colour that is perfect for the sunny season and suitable for clients planning activities such as sunbathing, swimming and outdoor exercise. Here’s a comprehensive guide for Brow Technicians to creating flawless So Henna brows that will keep clients looking fabulous all summer long.

Understanding Henna Brows
Henna brows involve using dye derived from the henna plant to colour the eyebrows. This method colours the brow hairs and stains the skin beneath, creating a fuller and more defined appearance.
Patch-test all new clients according to the product instructions, your insurer’s requirements and any applicable local regulations. Some clients may be allergic to the small amount of PPD present in henna powder. Read our henna brow patch-testing guide for more information.
Step-by-Step Guide
-
Preparation
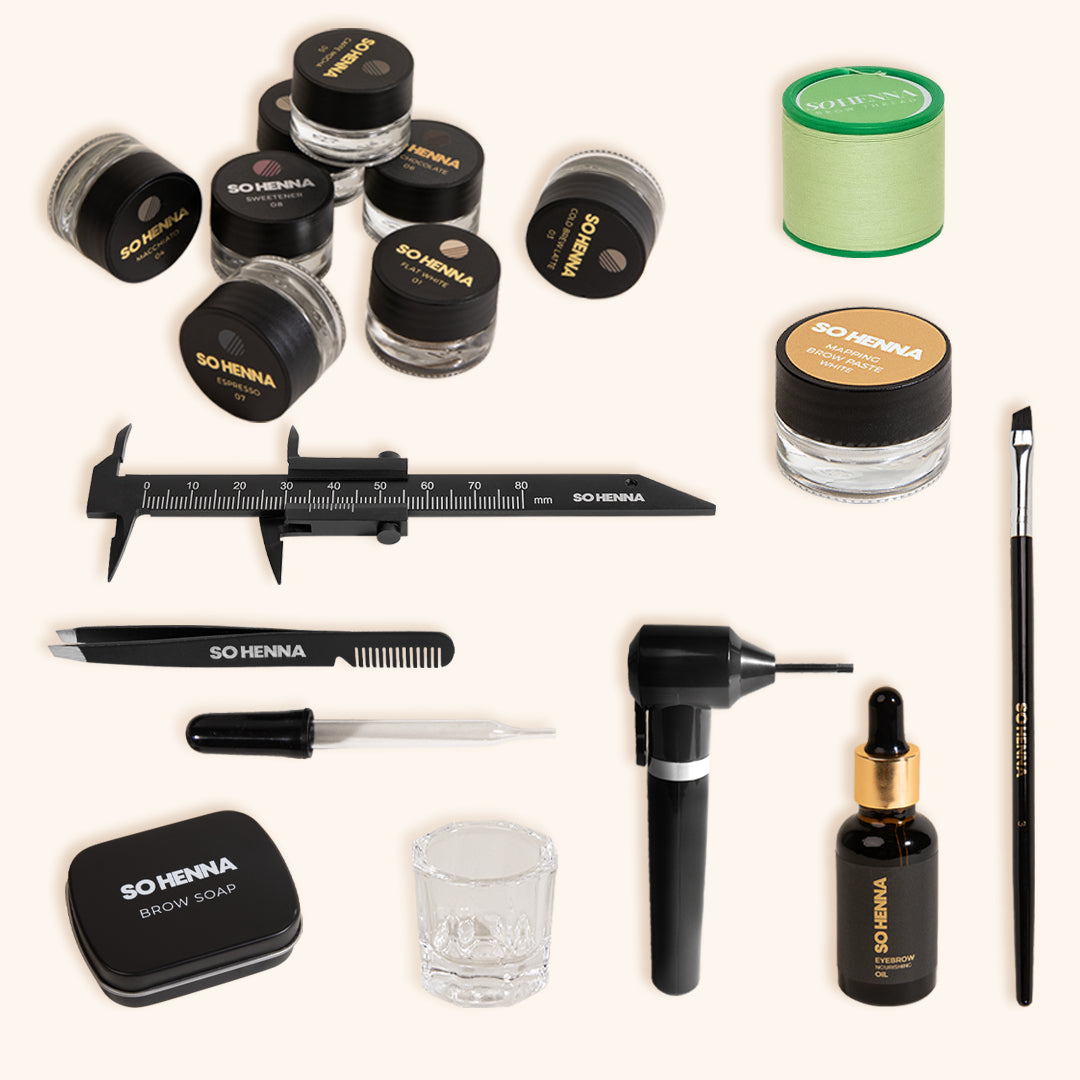
Begin by gathering all the necessary materials. An easy way to do this is to invest in a comprehensive So Henna Brow Kit, which includes henna powder, mapping tools, a mixer tool and brush applicators. Ensure you also have cleansing wipes or cotton pads and water ready for removing the henna once it has developed.
Cleanse the client’s eyebrows thoroughly to remove makeup, oil and dirt using Foaming Cleanser and a brow spoolie for gentle exfoliation. This gives the henna a clean base. Pat the brows dry and brush them into the desired shape using a clean eyebrow spoolie.
-
Mixing the Henna
Use the included spatula to add a scoop of So Henna powder to a glass dish with a few drops of water. Follow the instructions in our So Henna mixing guide and mix the powder using your Mixer Tool.
The mixture should have a honey-like consistency but can be made thinner or thicker depending on the depth of colour required. A thicker consistency creates a deeper colour, while a thinner consistency produces a more subtle result. Allow the henna to sit for the period stated in the product instructions.
-
Application
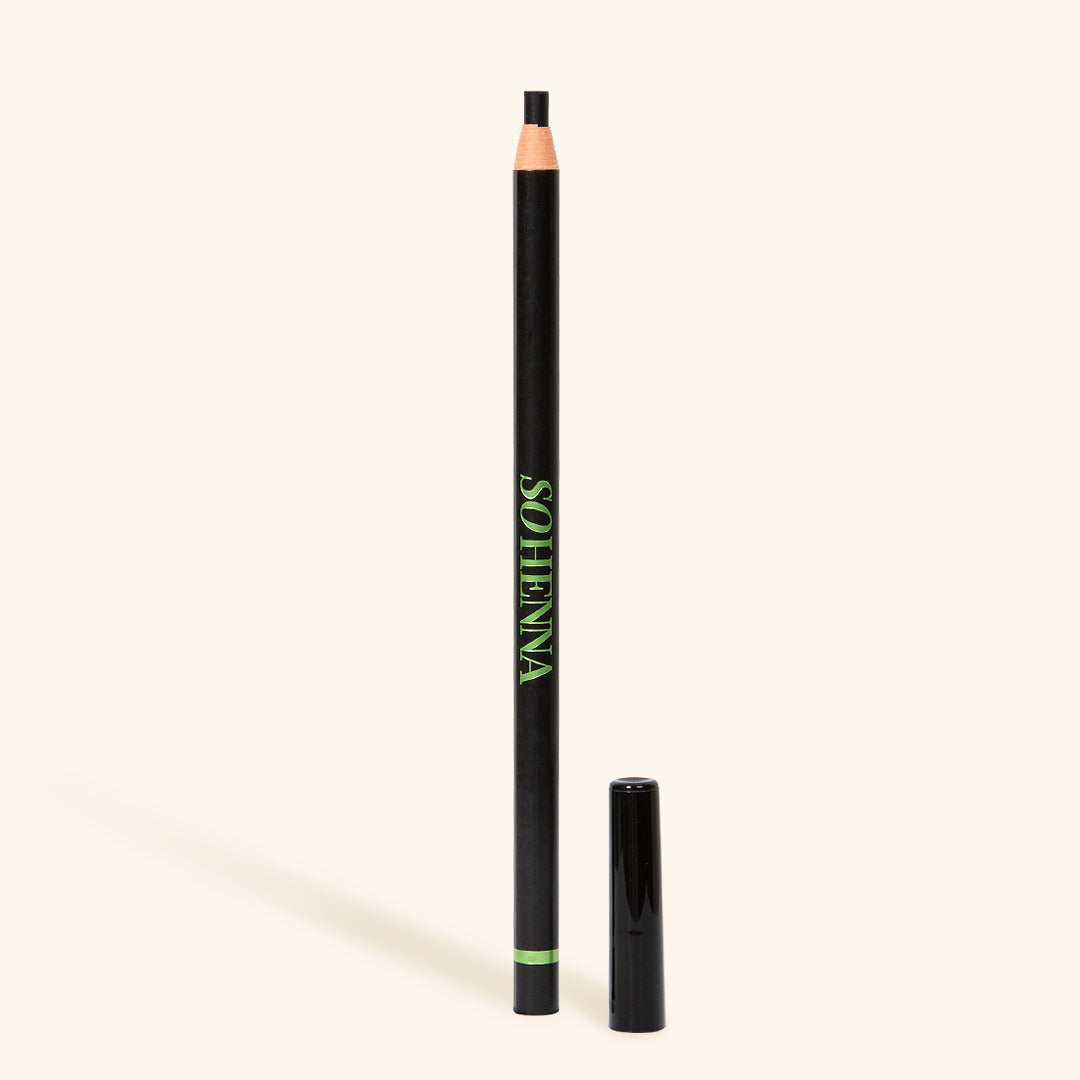
Map the client’s desired brow shape using White Brow Mapping Paste or a Brow Mapping Pencil for precision.
Using an angled eyebrow brush, apply the henna mixture to the eyebrows, starting from the outer corner and working inward. Use even coverage or hair-like brush strokes for a natural appearance. For a more defined result, apply a thicker layer by pressing the henna paste into the brow rather than brushing it through.
-
Setting and Removal
Allow the henna to develop for 10–20 minutes, depending on the depth of colour the client prefers and the product instructions. A shorter development time creates a lighter result, while a longer time produces a darker, bolder look.
For an ombré finish, remove the henna from the inner section of the brow a few minutes before removing it from the body and tail. So Henna powders can also be combined to create bespoke results. So Henna brow powder naturally has a cooler undertone. Add a small amount of Sweetener to warm a shade or a little Espresso to create a cooler tone.
Gently remove the henna paste using damp cotton pads without scrubbing the skin.

Summer Maintenance Tips for Your Clients
Advise clients to avoid getting their brows wet for at least 24 hours after treatment to help the tint last longer. After this period, they should avoid scrubbing the brows while cleansing their face.
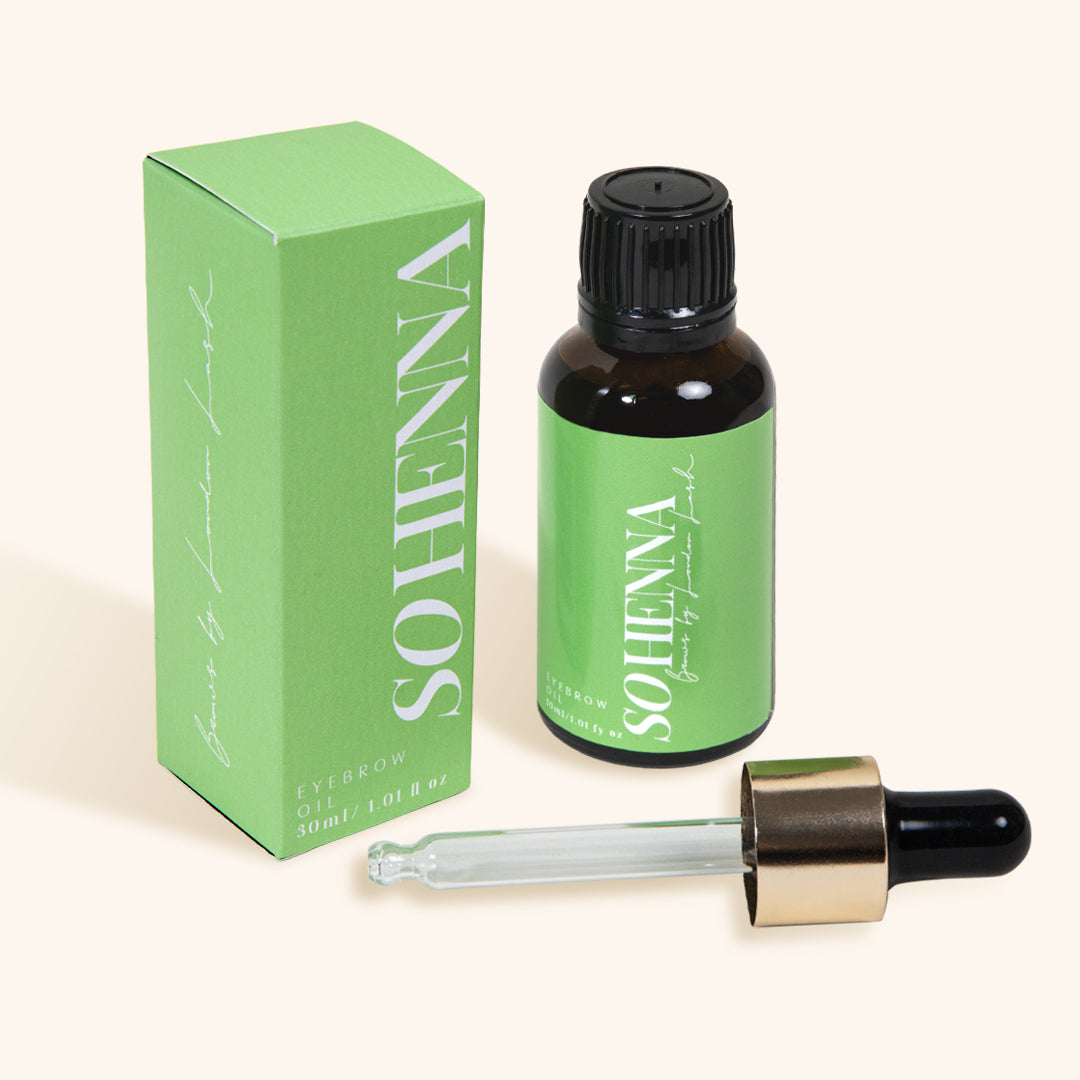
Recommend protecting the brows from prolonged sun exposure by wearing a hat and using suitable sun protection around the brow area. Clients can also condition their brows with So Henna Brow Oil, which you can retail in your salon.
Provide clients with a Digital So Henna Aftercare Leaflet so they can follow the appropriate brow-maintenance routine at home.

By following these steps, you can offer your clients beautifully defined, low-maintenance henna brows throughout the summer. Your expertise will help them embrace the season with confidence, knowing their brows look their best.
Check out these featured products