Glues & Liquids
Eyelash Extensions
ACCESSORIES
So Henna
EYEBROWS
ONLINE TRAINING
Save up to 70% Off
Why Didn't So Henna Powder Stain The Skin?
July 13, 2023 4 min read

Why Didn't So Henna Powder Stain The Skin?: Troubleshooting Common Problems
There’s nothing worse than coming to the end of your brow treatment and wiping off the henna only to realise that it hasn’t properly stained the skin. Unfortunately, many Brow Technicians have experienced this pain, so you’re not alone! There are a couple of things this can come down to, so let’s have a look at the potential reasons for the brow henna not taking to the skin so that you can make sure it doesn’t happen next time.
Poor Pre-Treatment
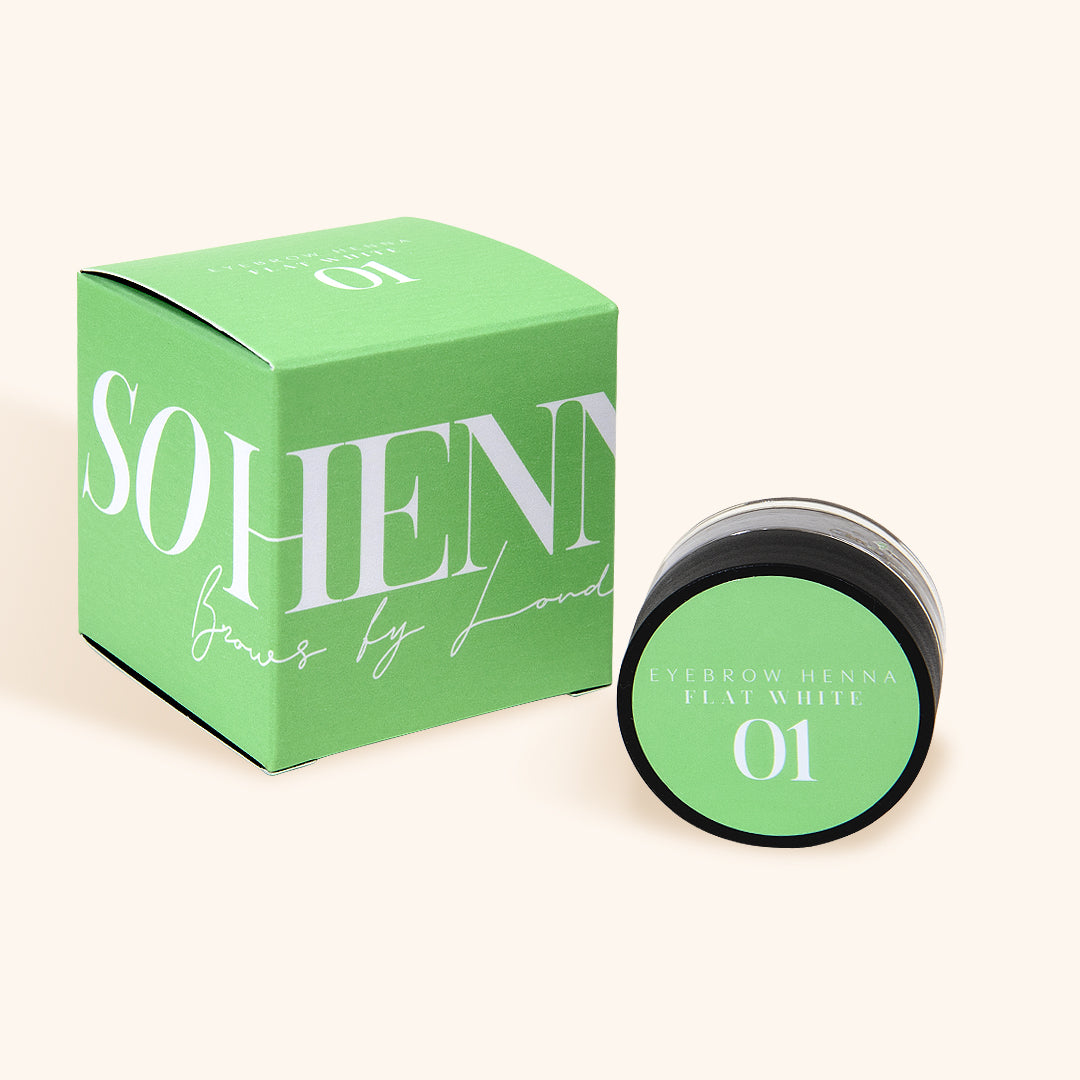
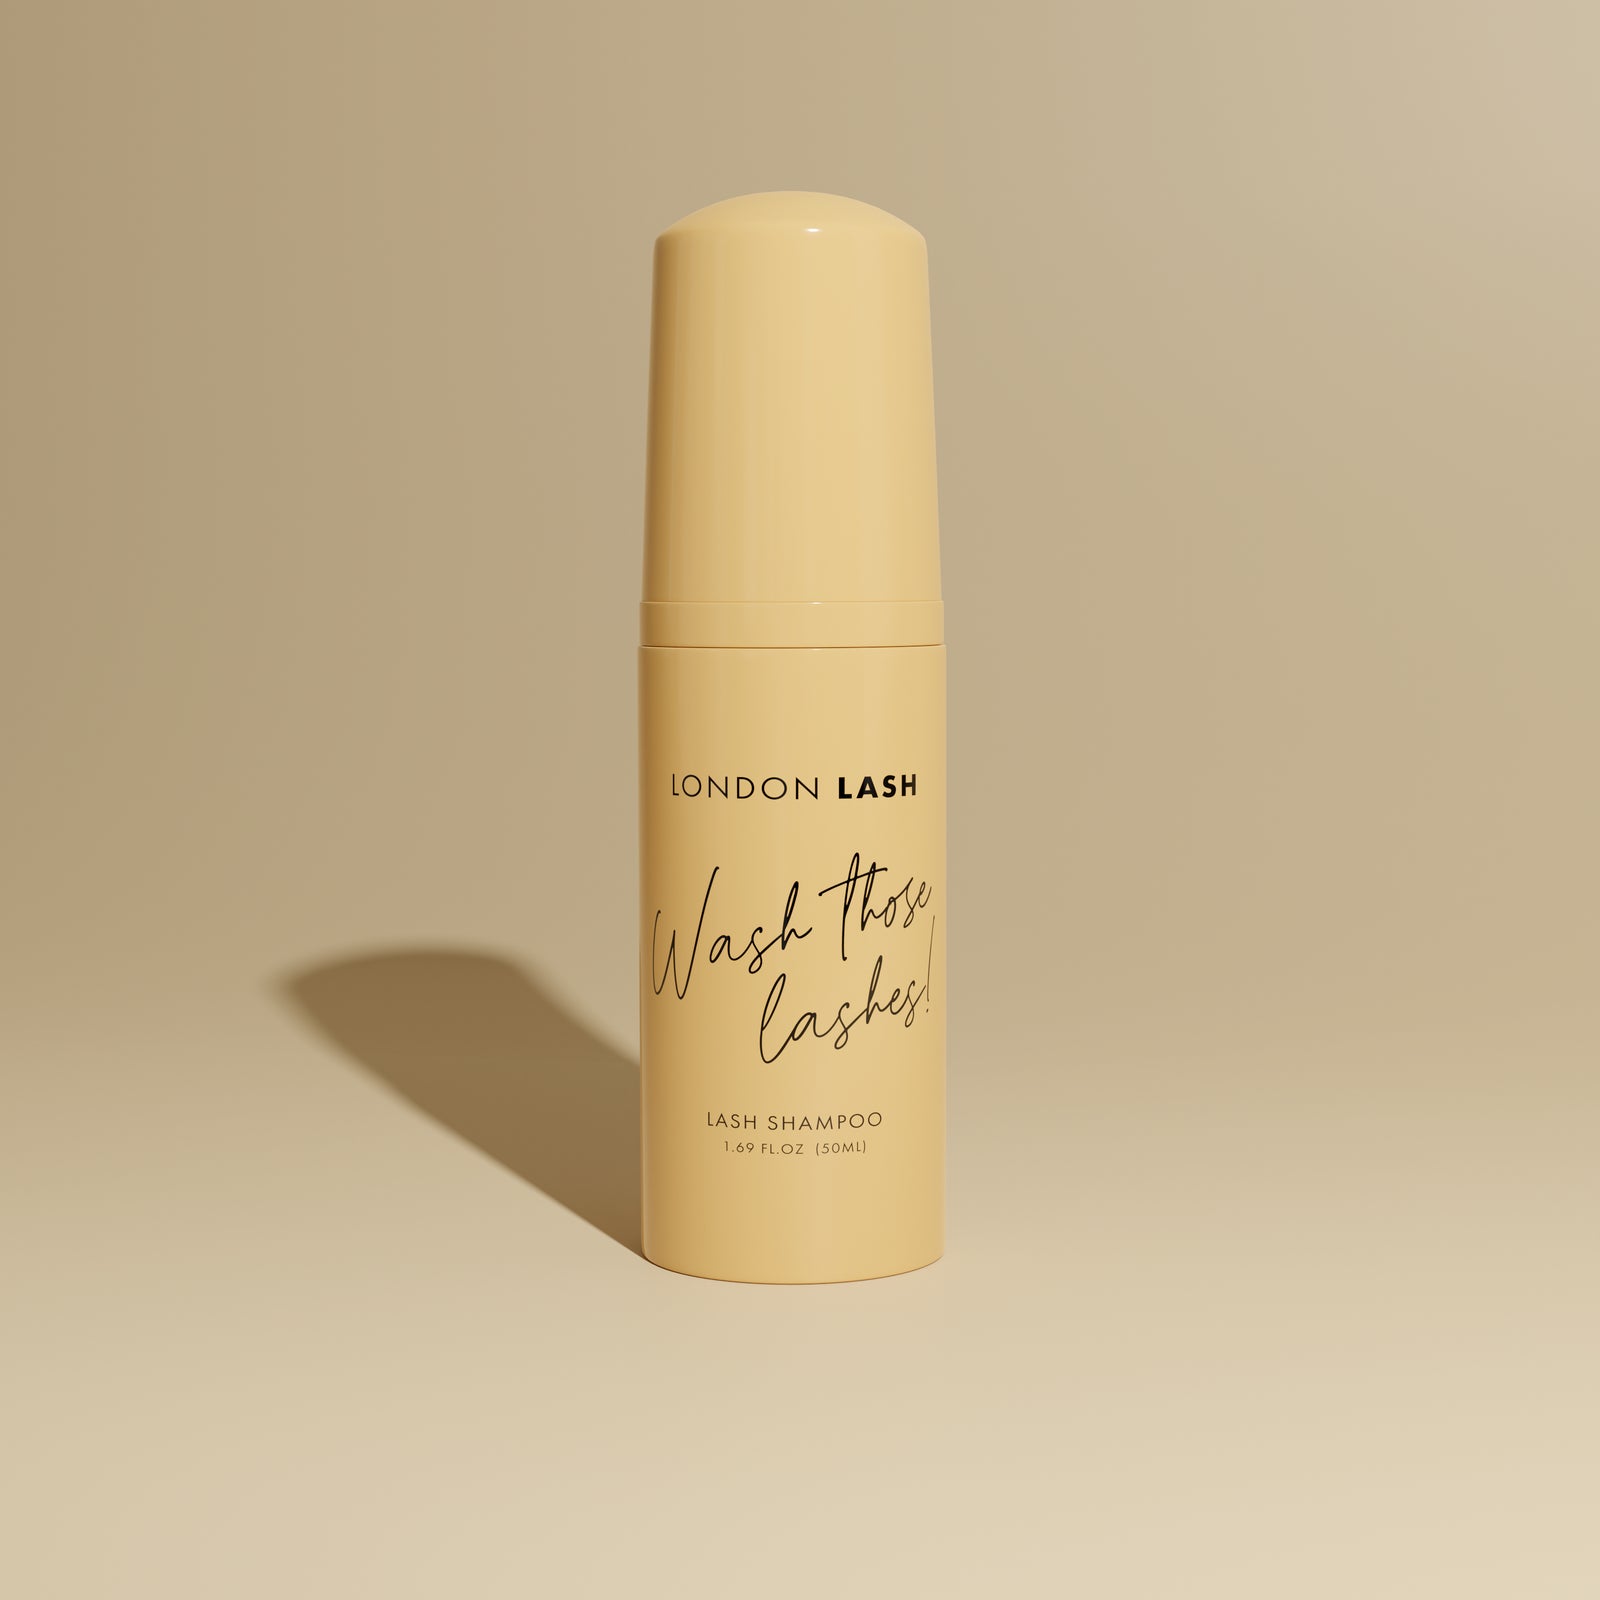
The reason we preach so much about brow henna pre-care is that it’s extremely important! If you apply the henna powder to skin and brows that haven’t been correctly prepared, then it’s likely that you’ll run into staining problems. Any dead skin, oil, sebum and makeup left on the skin prior to the treatment will create a barrier between the skin and the brow henna which means the stain simply won’t take. The surface has to be completely clean for brow henna to grip onto, so make sure you’re setting yourself up for success by using a solid pre-care routine that consists of a specially formulated brow shampoo brow exfoliation technique if your client has dry skin. Try the London Lash Foaming Shampoo and rub gently with a spoolie for the ultimate cleansing and exfoliation method.

Not Enough Processing Time
This one may seem obvious, but it’s often overlooked. You simply may not be leaving the So Henna powder on the skin to process for long enough. Our brow henna should be left on for between 8-20 minutes depending on your client’s desired results, skin type, skin tone and the required longevity of the product. It can be a little daunting leaving henna on the face for upwards of 15 minutes, but as long as you completed a thorough consultation then you can make an educated decision. If you do remove the brow henna and notice it hasn’t stained properly, you can always apply another layer and leave it for another few minutes. It’s probably best to underestimate the time required and re-apply as opposed to allowing too long of a processing time and having your clients leave with brows they hate!
Incorrect Henna Consistency
A really important aspect to consider is whether your So Henna powder has been mixed properly to achieve the right consistency. If the mixture is too thin, you will not get the depth of colour that you want, so it’s crucial to ensure you are using a 1:1 ratio of henna to water. It’s also recommended to use a mixing tool as this is the best way to guarantee that your henna is completely dissolved and thoroughly mixed. This also avoids the chance of ruining your brow brushes! If you are aiming for a particularly intense colour, or know that your client's skin doesn’t stain too easily, try making your mixture slightly thicker. Of course, it still needs to be within the consistency guidelines, but you may find you get a better result if you lean towards more of a whipped texture. Check out this blog post for a more detailed brow henna mixing guide.

Henna Application Time Frame
Something a lot of people may not know is that brow henna loses its potency the longer it’s left in the mixing dish. Once your henna is mixed, you should be aiming to have it applied within 20 minutes. After this time frame, brow henna can lose its potency meaning the stain will not develop as expected. So, if you’re mixing the product at the start of the treatment and then taking your time to prepare the brows, this could be why you are not achieving the desired stain on the skin.
Colour Selection
Another reason for your So Henna not staining your client’s skin could be due to incorrect colour selection. A color that’s too light may not appear so obvious on your clients' skin, just like with brow dye. Different henna colours will also develop differently on everyone depending on the skin type and skin tone, so it may well be that the colour you have chosen just isn’t dark enough to significantly stain the area. If this does happen, try picking a shade darker or adding a little bit of our Espresso mixing shade to add some depth to the henna powder you’re using and see whether you get better results.

As mentioned, with a henna brows treatment, you can always go in with another round of henna if you notice that the skin has not stained. Now you know the potential causes, you can quickly troubleshoot the issue and go again! It’s always a good idea to be as transparent as possible with your clients if this problem does occur, and just communicate that the results aren’t dark enough and you are going to apply another layer to ensure they have their dream brows when they leave your salon! It’s easily solvable there and then so it’s nothing to worry about, but we can understand it can be a little frustrating and add to your treatment time and product usage. If you are still having trouble with henna staining, just pop us a message on @Sohenna_offical or click the chat icon below and we will be happy to work it out with you!
Check out these featured products
Subscribe
Sign up to get the latest on sales, new releases and more …

