


How to Create PERFECT Volume Lash Fans
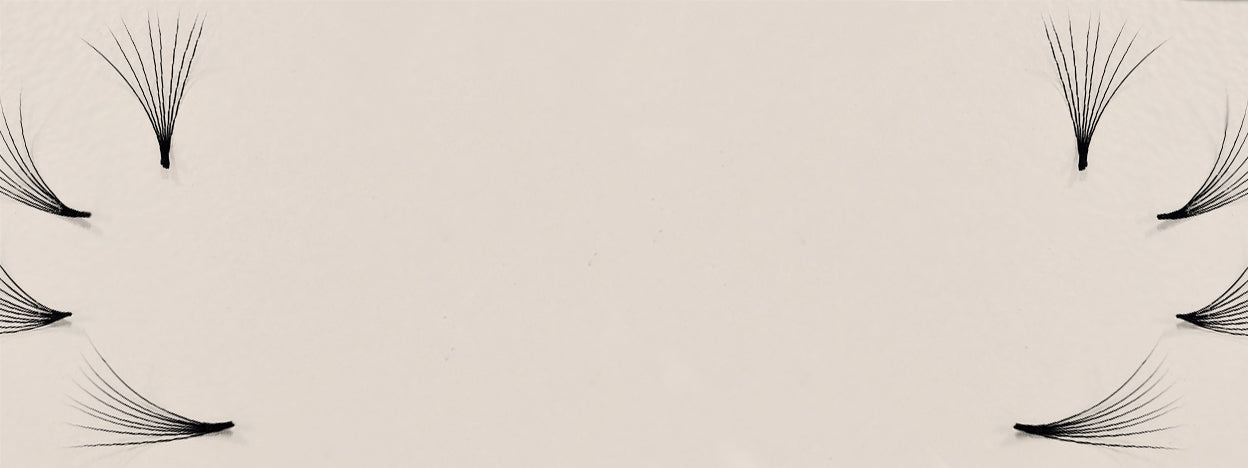

Table of Contents
Creating the Perfect Volume Fans
Finding the right lash fanning method for every Lash Tech isn’t an easy feat. Finding the one that fits you takes time and practice, needless to say the right tools. However, when you find that perfect method everything starts falling into place - you become your own personal lash fan making machine. So what exactly makes the perfect eyelash extension fan?
Well, of course one of the most important elements is symmetry. This means that each lash extension within the fan is an equal distance apart from the one next to it. How far apart each lash is will however, depend on the size of the fan itself. To give you an example, when creating a 2D fan the lashes will of course be a greater distance apart than 3D or 4D fans. The bigger the fan, the closer the extensions will be to each other.

The spacing is what will help identify whether you are working with a narrow, normal or wide fan. If the fan is not symmetrical this will make a messy looking, closed fan which is something no Lash Artist, or customer wants to see. Just imagine, for example, you created a 5D fan but 3 of the lashes were closed, the fan would look really out of place amongst a sea of symmetrical 5D lash fans. This would also lead to gaps in the top line rather than the gorgeous fluff we all know and love from Volume Lashes.
The next important element is the body of the fan. The best practice is that the base should make up one third of the fan and the body should make up two thirds. Remember, always taper the base of the fan otherwise it might split, this will cause poor retention and fly-away lash extensions. It can also lead to stickies and discomfort.
Now onto the Lash Glue. One of the most important elements of the ‘perfect fan’ is the lash adhesive holding the lash extensions together. This is located right at the base of the fan and is a 2mm section. This is where you dip into your eyelash glue and anything less than this you can end up with poor retention.
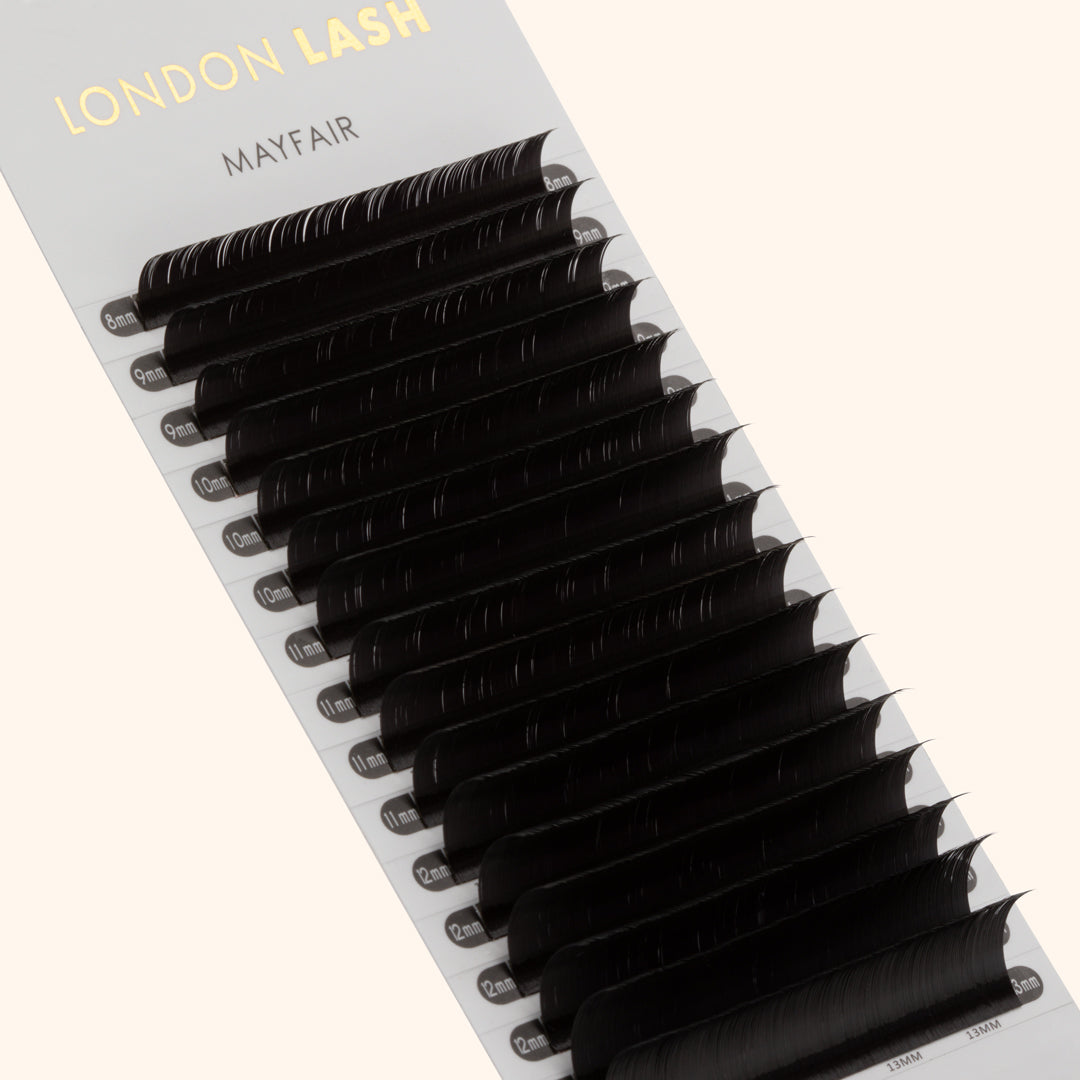
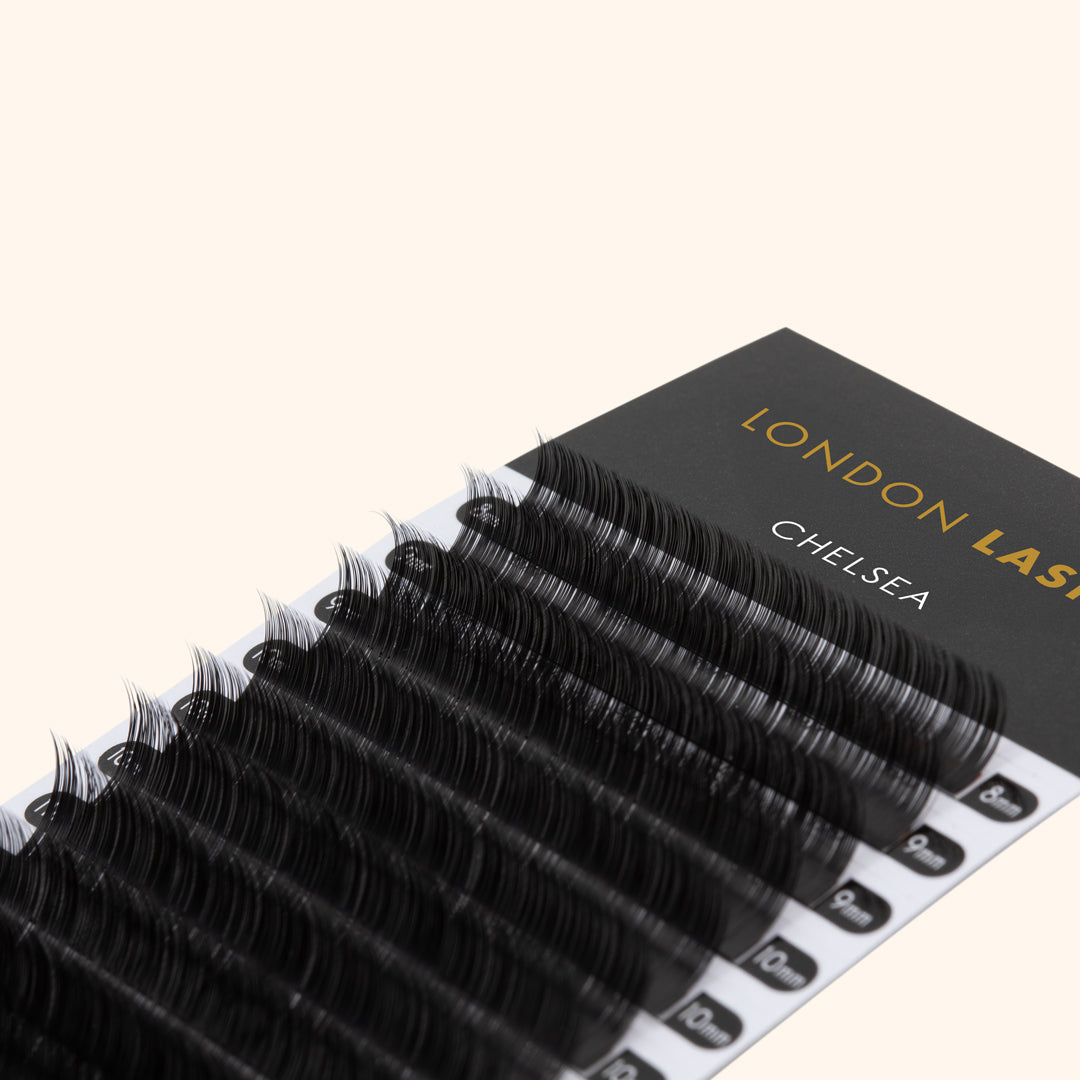
Remember that the thickness of the lashes you decide to use should be based on the strength of your clients natural lash. Lashes that are too thick or too long could cause damage to the natural lash. Make sure you are aware of our wide range of Lash Extensions.
The general rule of thumb is as follows:
|
Mega-Volume sets |
0.03/ 0.04 lashes |
|
Volume up to 9D |
0.05 lashes |
|
Volume up to 5D |
0.07 lashes |
|
2D Volume |
0.10 lashes |
Of course this will fully depend on the final look style and look your client is aiming for - you can absolutely complete a full 3D set with 0.05 lashes for a light and fluttery look.

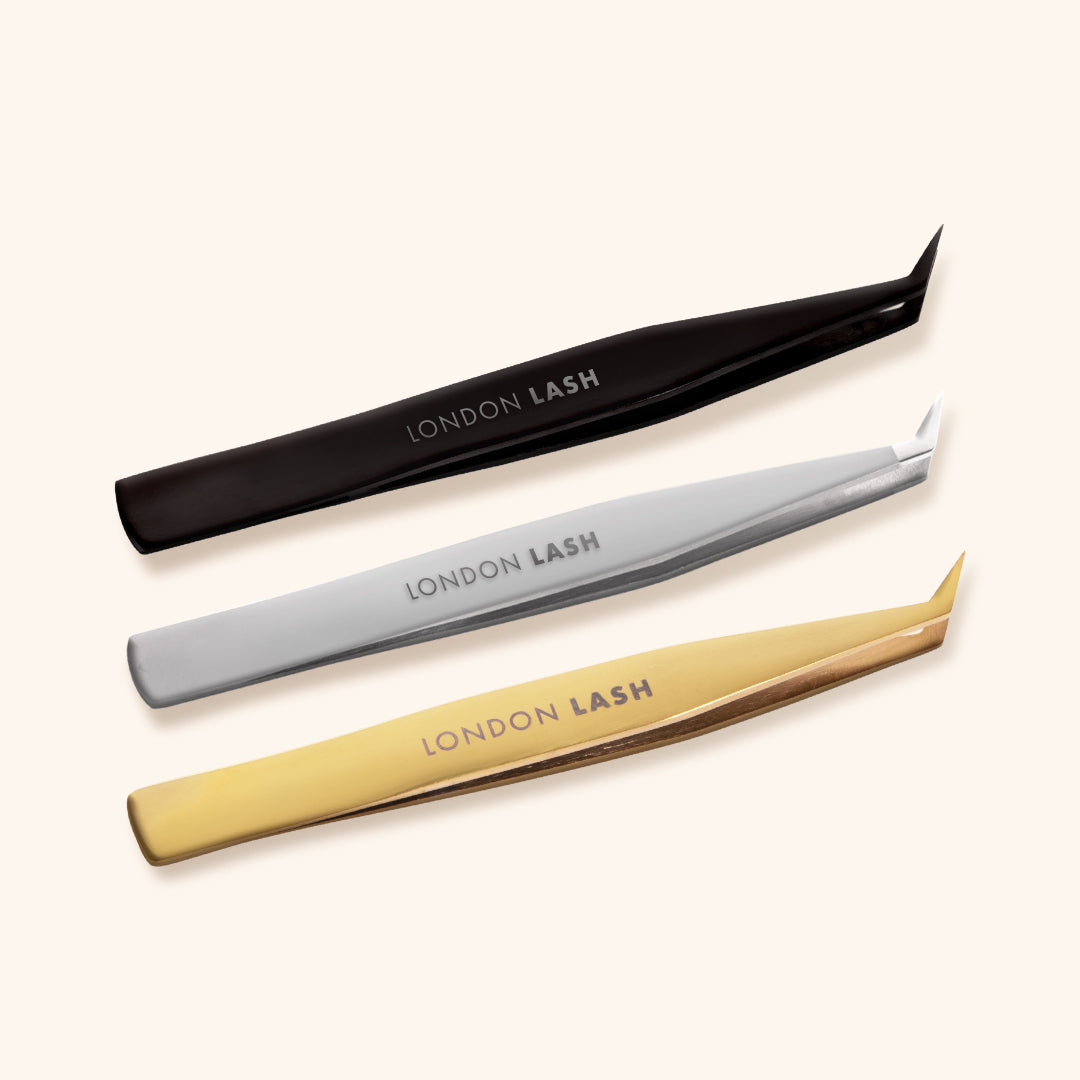
There are a few options to choose from when creating the perfect fan. It might take you a few tries to find the correct technique for you and you may even find the one that becomes your go-to technique, was one you initially struggled with. It does take practice and there will be an element of trial and error. You will also need to find the right Eyelash Tweezers which feel most comfortable in your hands as you create your handmade fan. Our Volume Lash Tweezers are specially designed and tested to create beautiful lash fans with ease.
So here they are, our TOP 3 fanning techniques & how you can use them to create the PERFECT fans for your clients:
LONELY FAN METHOD
This method begins by selecting the lashes you want to use and then moving them along the strip away from the rest of the lashes. Then using the tip of your Volume Tweezer of choice, roll the lashes in an outwards motion and you’ll see a beautiful fan begin to take shape. With a strong and controlled grip pick up your gorgeous fan and dip into the glue and attach to the natural lash. This technique is widely used and is a great technique to start with on your lashing journey. Take your time, it may not turn our perfectly and evenly from the first try, but keep practicing and you will see the symmetry taking shape.
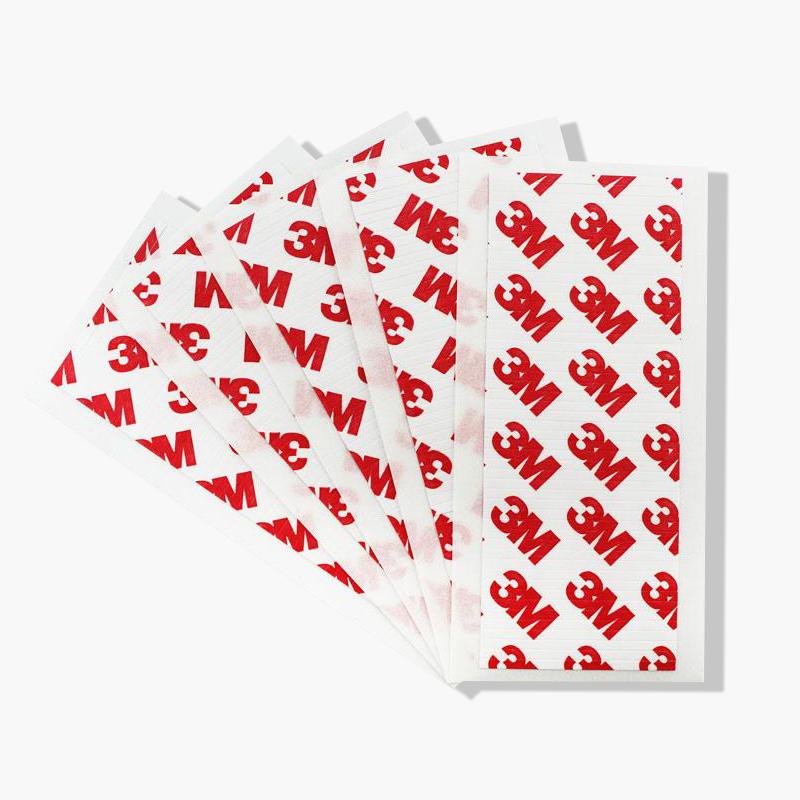
This technique gives a flatter base, so is ideal for attachment to the top or bottom of the lashes. For extra help as a beginner of this technique, make sure to use our Double Sided Tape, created to help keep your fans in steady and in place when rolling out.

RAINBOW METHOD
The Rainbow method AKA the rolling technique, is not all that different from the Lonely Fan method, it simply has one one minor difference. You keep all the lashes together rather than removing them from the rest of the lashes, then using your Tweezer you roll side to side and create your fan.
The base on this type of fan is more stacked in appearance which makes it great for attaching to the side of the natural lash.
PINCHING METHOD
This final Pinching Method is slightly different. This one takes a little more practice and some hand-eye coordination to ensure that the lash extensions don't end up with twisted bases.
Start by taking the lashes from the strip and this time you're going to place the lashes in between your thumb and index finger. Whilst doing this, you need to keep constant grip with your tweezers. When you have the lash fan base in a safe position between your fingers, slowly loosen your grip with the tweezers and simultaneously pinch the base together with your thumb. This pinching action is where the technique gets its name from.
To create a more open fan, just wiggle your fingers but keep pinching the base with your forefinger and thumb. When you are happy with your fan, use your tweezers to grip tightly, then dip your fan in the glue and attach to your natural lash.
Similar to the Rainbow Method, this technique produces more of a stacked base, so works really well when attaching to the side of the natural lash. Of the three techniques, this is definitely the most difficult to master, but when you do finally get the hang of it, watching the fans be created can be hypnotising.

So there you have it, our three favourite lash extension fanning methods, but the best tip we can give you is practice, practice, practice. Just remember, some techniques may seem difficult at first but with a little perseverance and the correct tools, you’ll be fanning like a lash pro in no time.
Check out these featured products